Table of Contents
Overview
My team often works on component-centric projects, building component libraries and using frameworks such as Storybook to present each component in isolation, in all of its various states.
Using component tests on these types of projects is vital, we need fast, repeatable automated tests to ensure that our components are functioning and appearing correctly.
There is enough material out there that covers the value of automated testing, the test pyramid, and the terrible test hourglass, I won’t preach here.
What I want to provide is a practical guide, on how to set up your Next.js app to include focused component tests, for server and client-rendered flavours.
Component tests, like standard unit tests, should be rapid and only test the target code, i.e. not any external dependencies. Like unit tests, they should avoid instigating network calls, database writes, etc.
In this article we are going to:
- set up a simple, API-fed, client-side component in a new Next.js application
- add Cypress, and set up a component test
In subsequent articles we are going to build on this to:
- use interceptors to allow us to test how the component reacts to various API responses
- get it to work without a network connection
- get test coverage over our server-side components 👍
You can find the full code here: https://github.com/speaktosteve/nextjs-cypress-part1-and-part2
Setup Next.js app
The usual Next.js setup, with all the defaults: https://nextjs.org/docs/getting-started/installation
npx create-next-app@latestNow create a couple of files. I want to architect realistically, so we’ll have a:
- client-side component that is responsible for rendering some products
- a custom hook that is responsible for handling the collecting of product data along with loading and error states
- a basic API service for fetching data from an external API
…which will have this structure:
src
└───app
    └─── components
        └─── products.tsx
    └─── hooks
        └───useProducts.tsx
    └─── types
        └─── product.ts
    └─── utils
        └─── api.ts
    └─── page.tsx
Here are the main files you will need to add/update, you can leave the rest of the app alone for now.
//src/app/components/products.tsx

'use client'

import Image from 'next/image'
import { useProducts } from '../hooks/useProducts'

export const Products = () => {
    const { products, isLoading, isError } = useProducts()

    return (
        <section>
            <h1 className="text-xl pb-4">Products</h1>
            {isLoading && <p>Loading...</p>}
            {isError && <p>Something went wrong...</p>}
            {products && products.length === 0 && <p>No products found</p>}
            <ul className="grid md:grid-cols-2">
                {products &&
                    products.map((product) => (
                        <li key={product.id} className="border rounded m-4 p-8">
                            <h2>{product.title}</h2>
                            <p>{product.price}</p>
                            <p>{product.category}</p>
                            <p>{product.description}</p>
                            <Image
                                src={product.image}
                                alt={product.title}
                                width={100}
                                height={100}
                            />
                        </li>
                    ))}
            </ul>
        </section>
    )
}
//src/app/hooks/useProducts.ts

import { useEffect, useState } from "react";

import { getProducts } from "../utils/api";
import { IProduct } from "../types/product";


export const useProducts = () => {
    const [products, setProducts] = useState<IProduct[]>();
    const [isLoading, setIsLoading] = useState<boolean>(true);
    const [isError, setIsError] = useState<boolean>(false);

    useEffect(() => {
        const fetchProducts = async () => {
            try {
                const products = await getProducts();
                setProducts(products);
            }
            catch (error: unknown) {
                console.error("Error fetching products", error);
                setIsError(true);
            }
            setIsLoading(false);
        };

        fetchProducts();
    }, []);

    return { products, isLoading, isError };
}
//src/app/types/product.ts
export interface IProduct {
id:number;
title:string;
price:string;
category:string;
description:string;
image:string;
}//src/app/utils/api.ts
import { IProduct } from "../types/product";
export const getProducts = async (): Promise<IProduct[]> => {
return (await fetch('https://fakestoreapi.com/products')).json();
}
Finally, lets update the root main.tsx to reference our new Products component:
import { Products } from "./components/products";

const Home = () => {
  return (
    <div className="mx-auto py-8 w-3/4">
      <Products />
    </div>
  )
}


export default Home;
In summary, we now have:
- products.tsx - a client component that renders a list of products retrieved using the useProducts hook
- useProducts.ts - a custom hook responsible for handling the state of the retrieved products
- product.ts - a simple interface defining our Product object
- api.ts - a simple service for fetching products from the very useful https://fakestoreapi.com
Run the Next.js app
We have our components in place, it’s time to install the packages:
npm iand then test run the app:
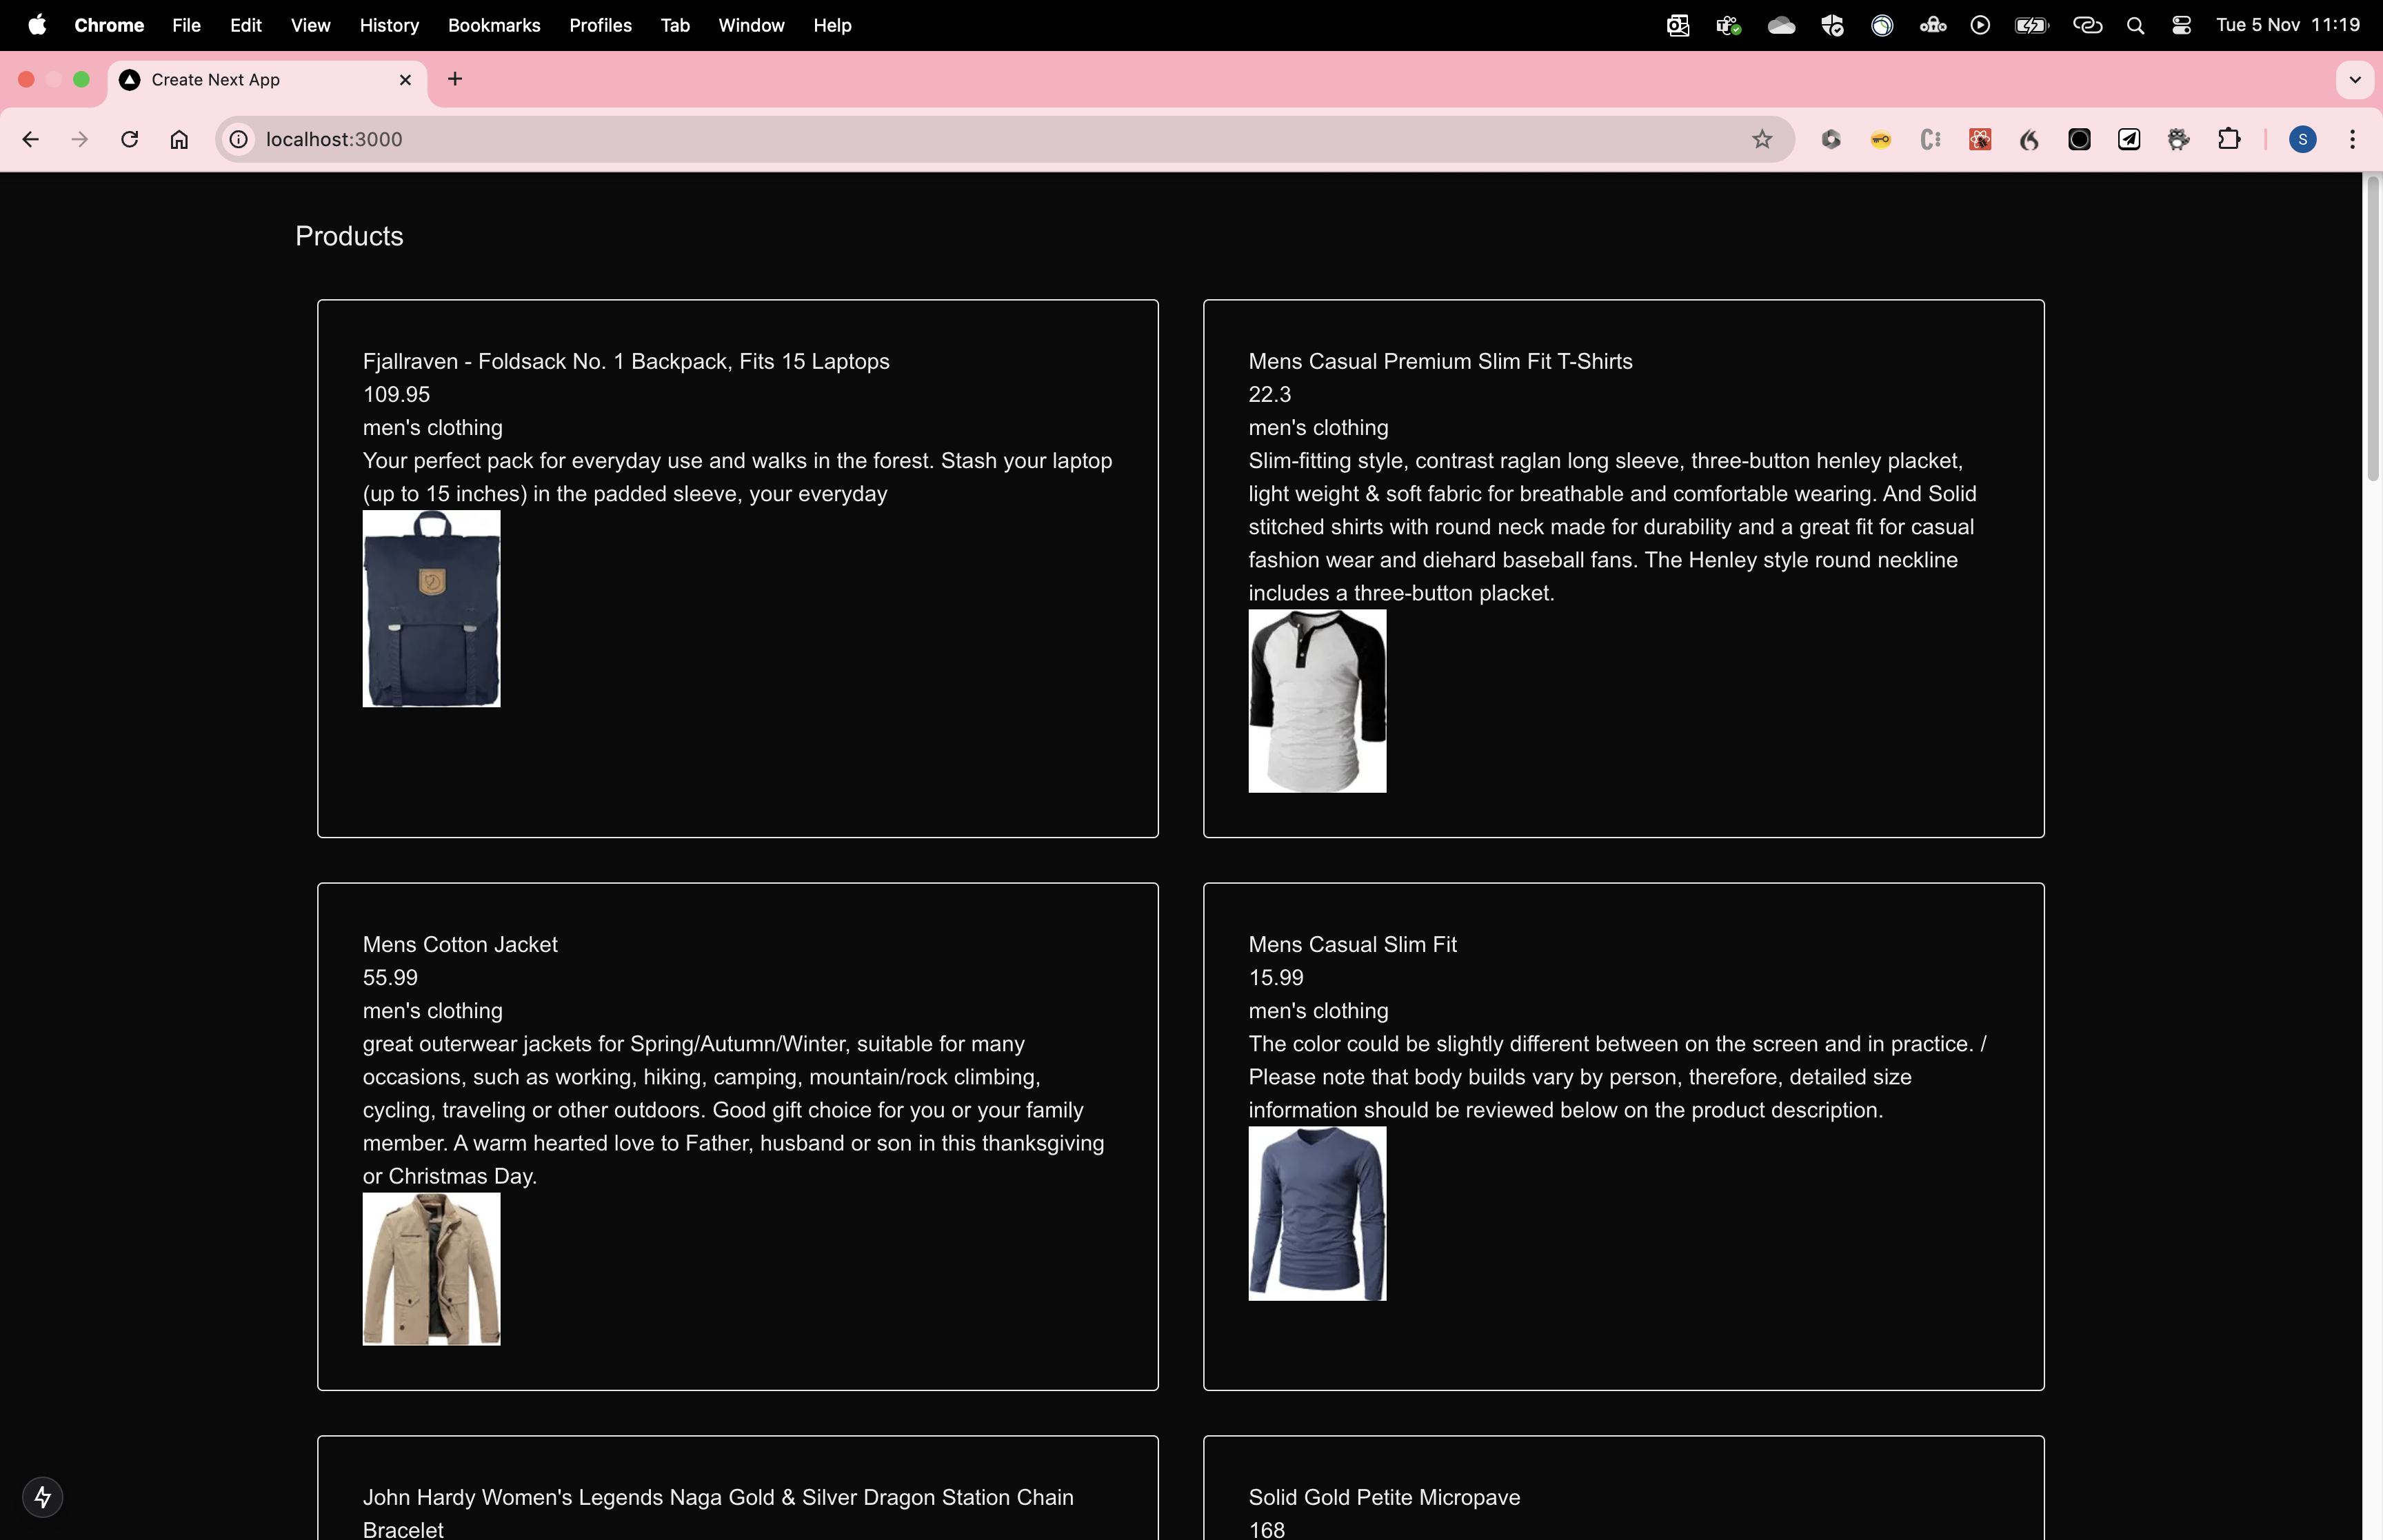
npm run devNavigate to http://localhost:3000/ and you should have a site that looks like this:
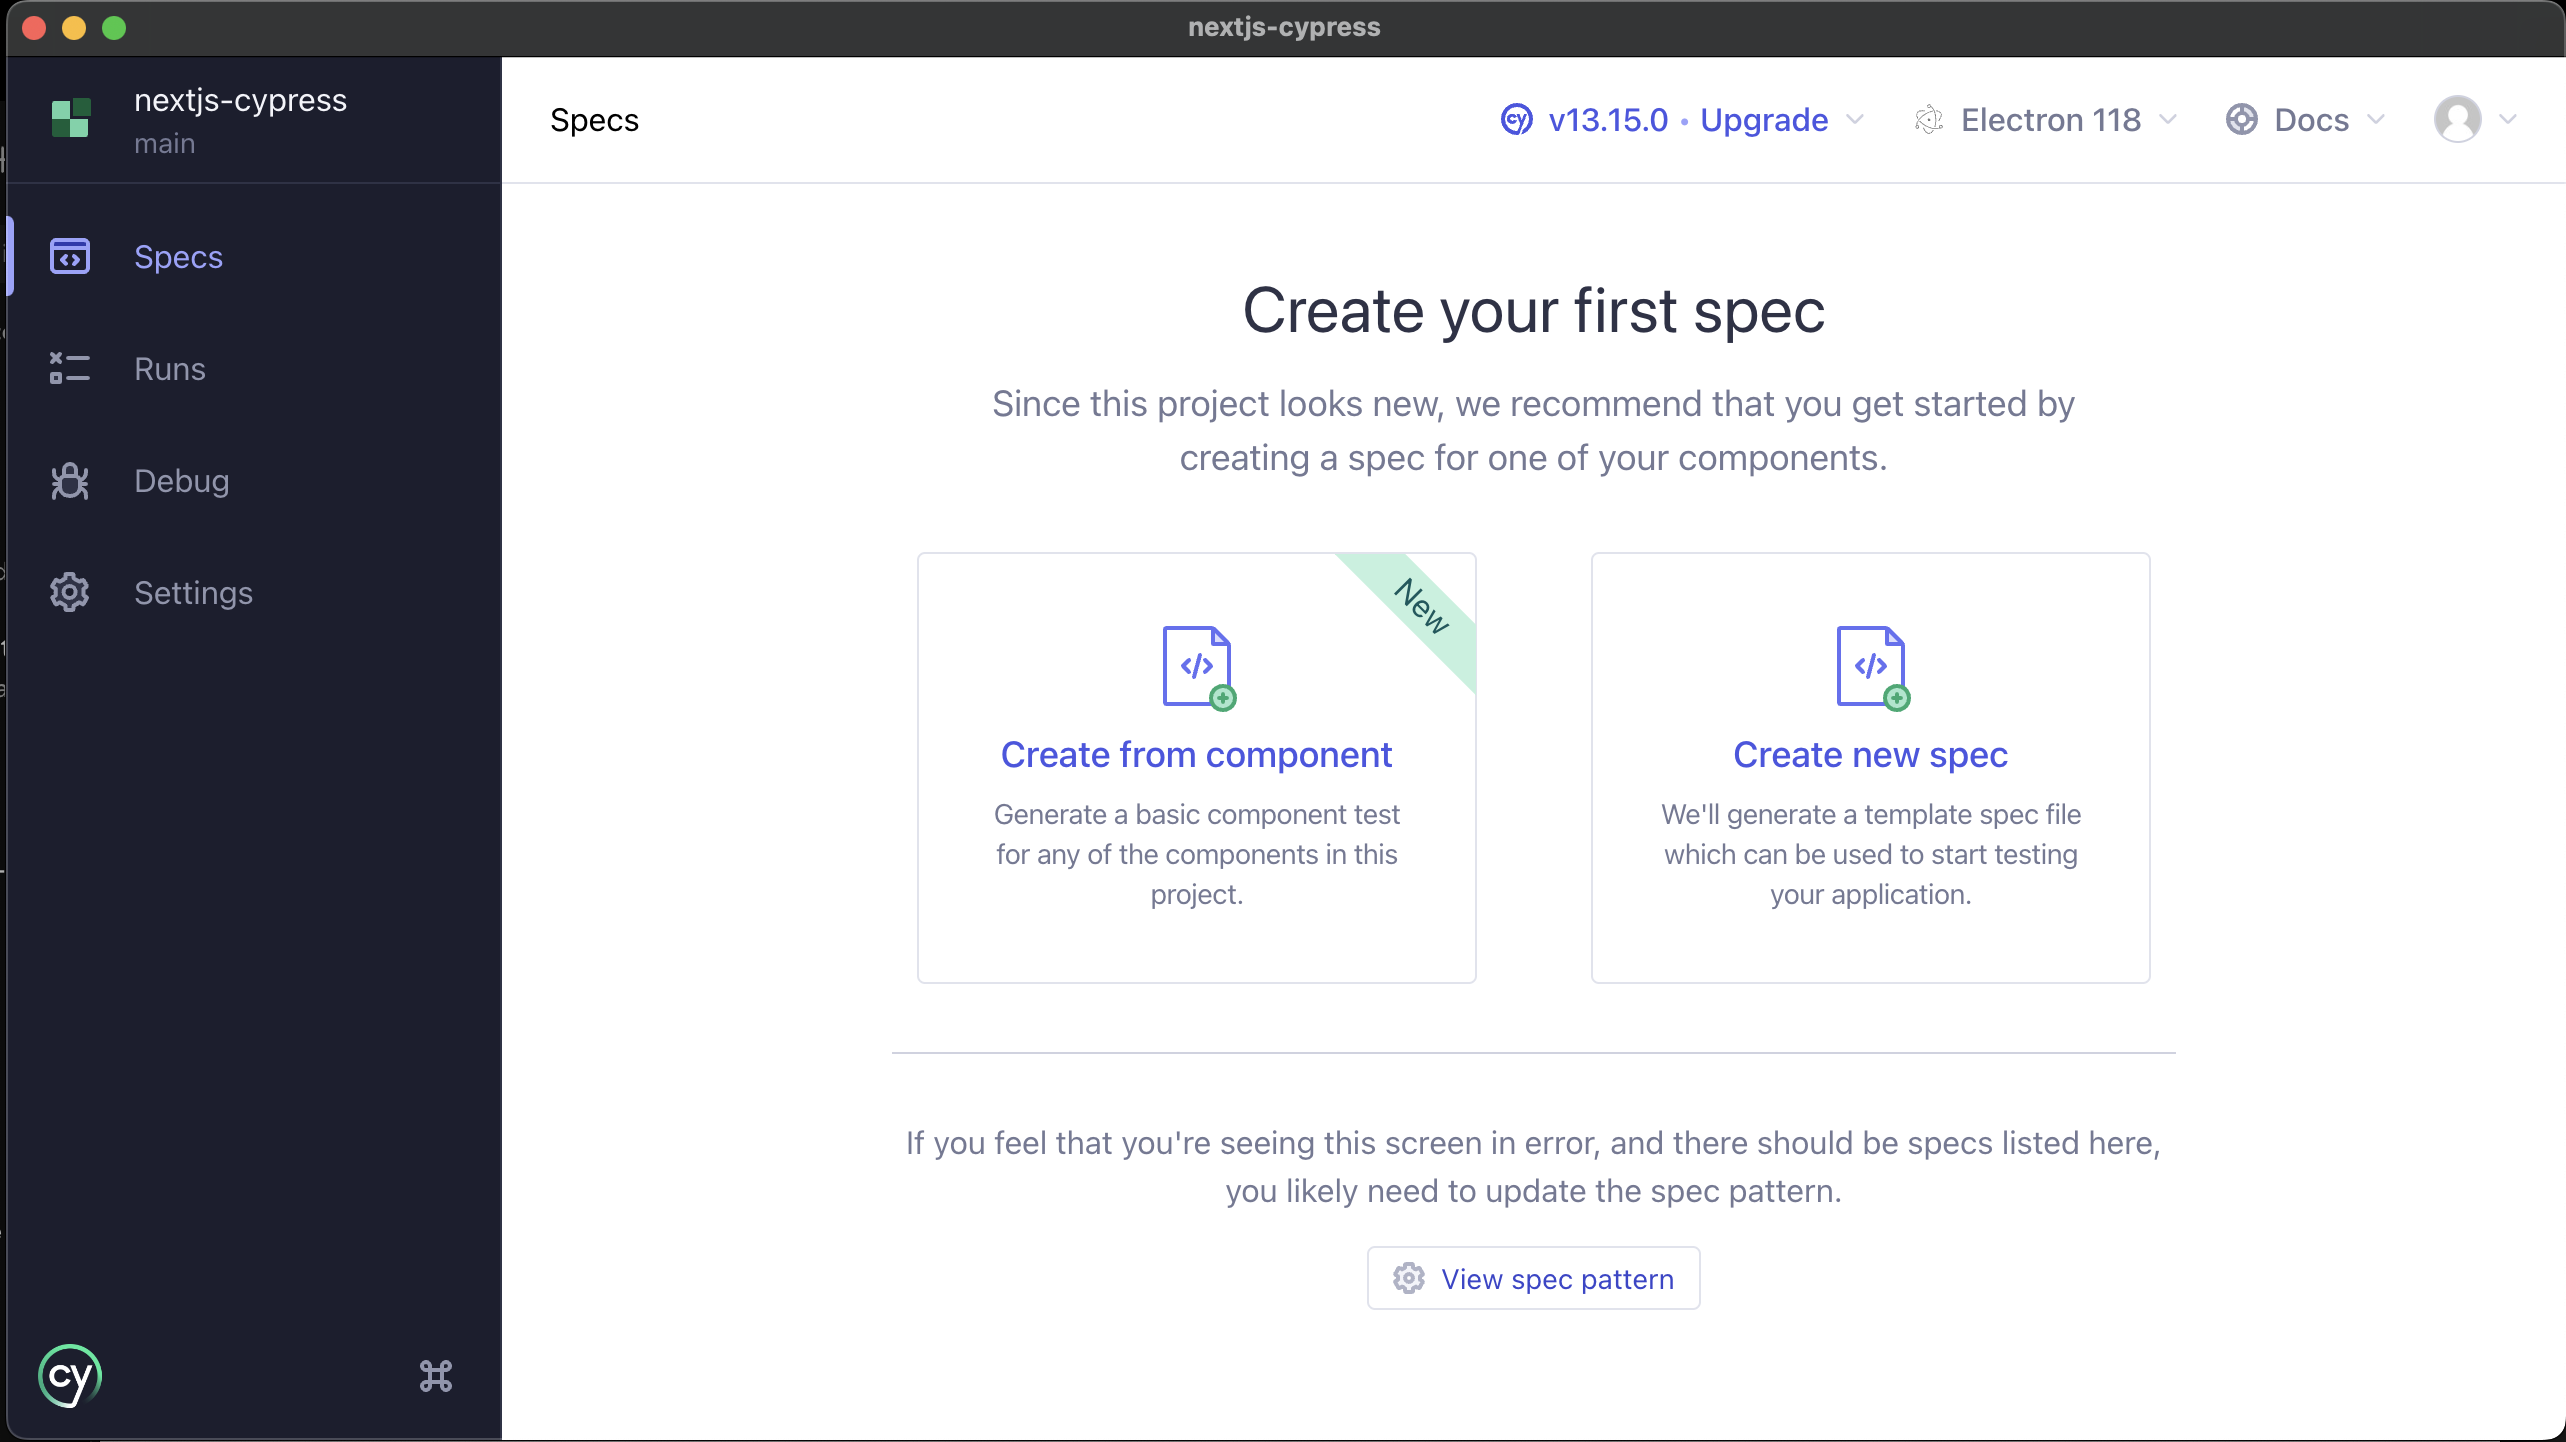
Set up our test tooling
We want to cover our client-side component with some simple tests. We will leverage the very popular Cypress testing framework to set up and drive our tests.
Here are the steps for setting up Cypress, taken from the Next.js docs for setting up Cypress documentation:
Install Cypress
npm i -D cypressAdd the command to packages.json
{
  "scripts": {
    "dev": "next dev",
    "build": "next build",
    "start": "next start",
    "lint": "next lint",
    "cypress:open": "cypress open"
  }
}
And then run Cypress for the first time:
npm run cypress:openYou should see that Cypress will launch, offering you something like the following options:
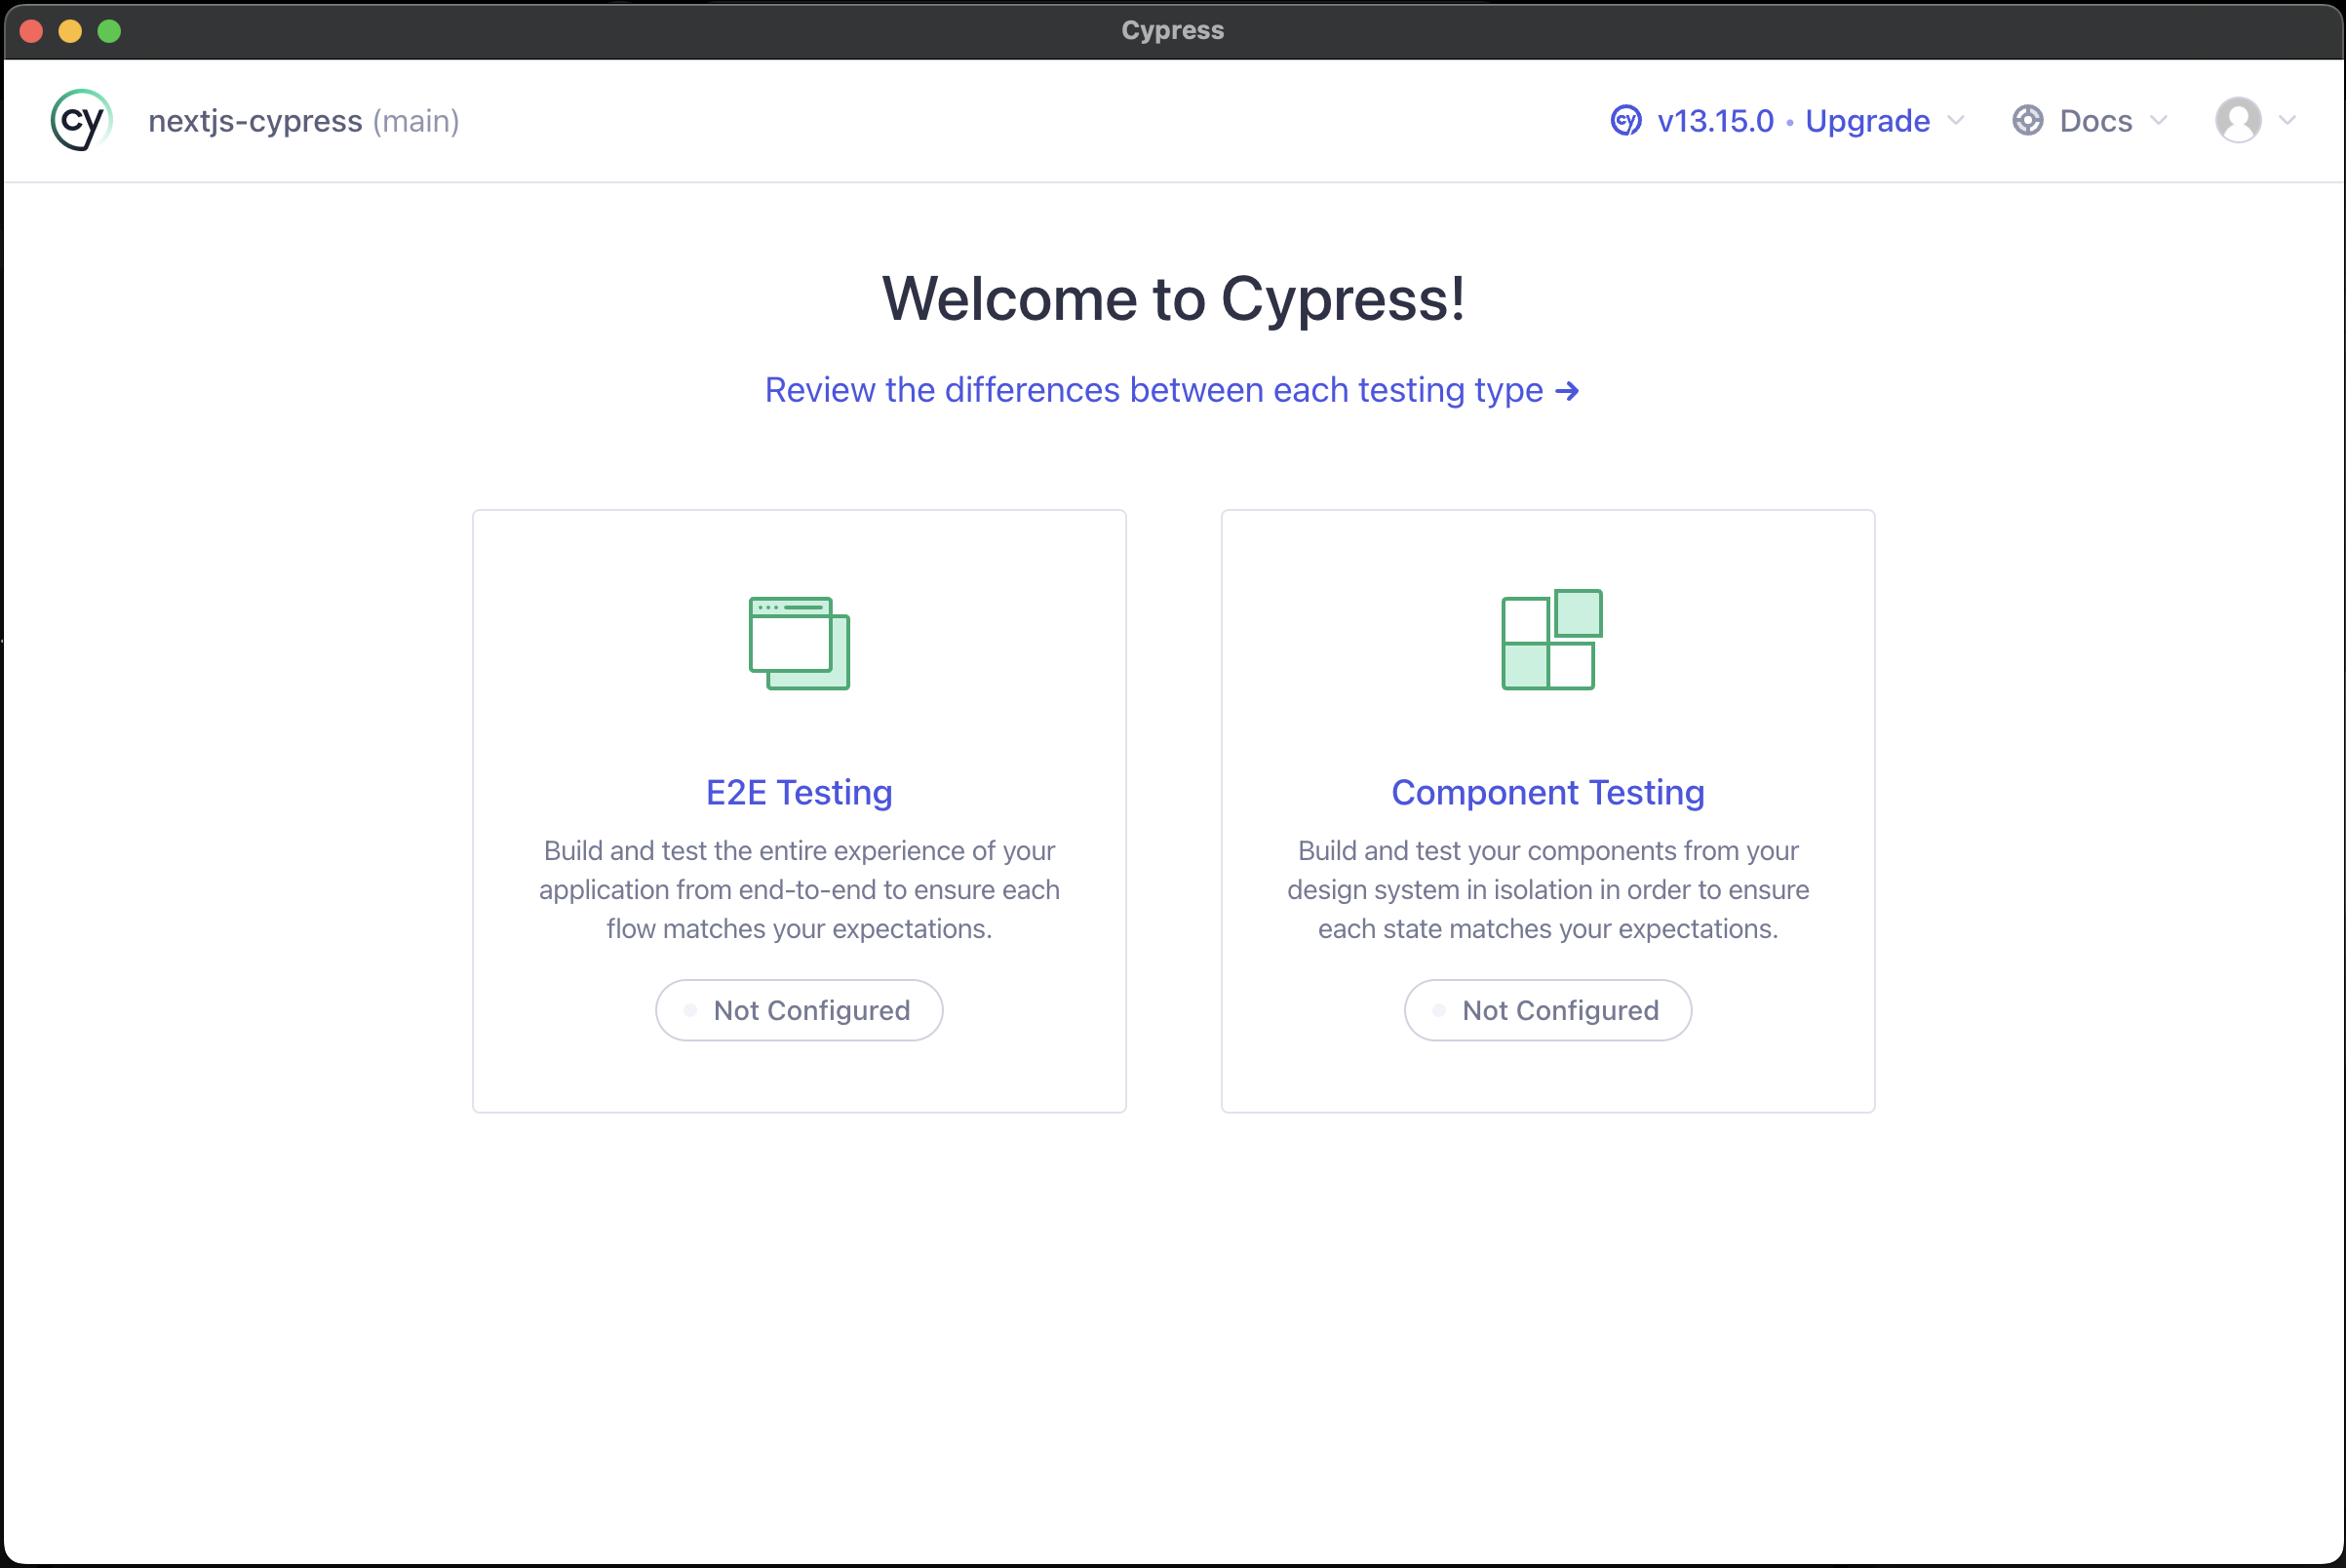
For this first component, we want to configure Component Testing. This will create the cypress.config.js file and allow us to execute focussed tests on our client-side Products component.
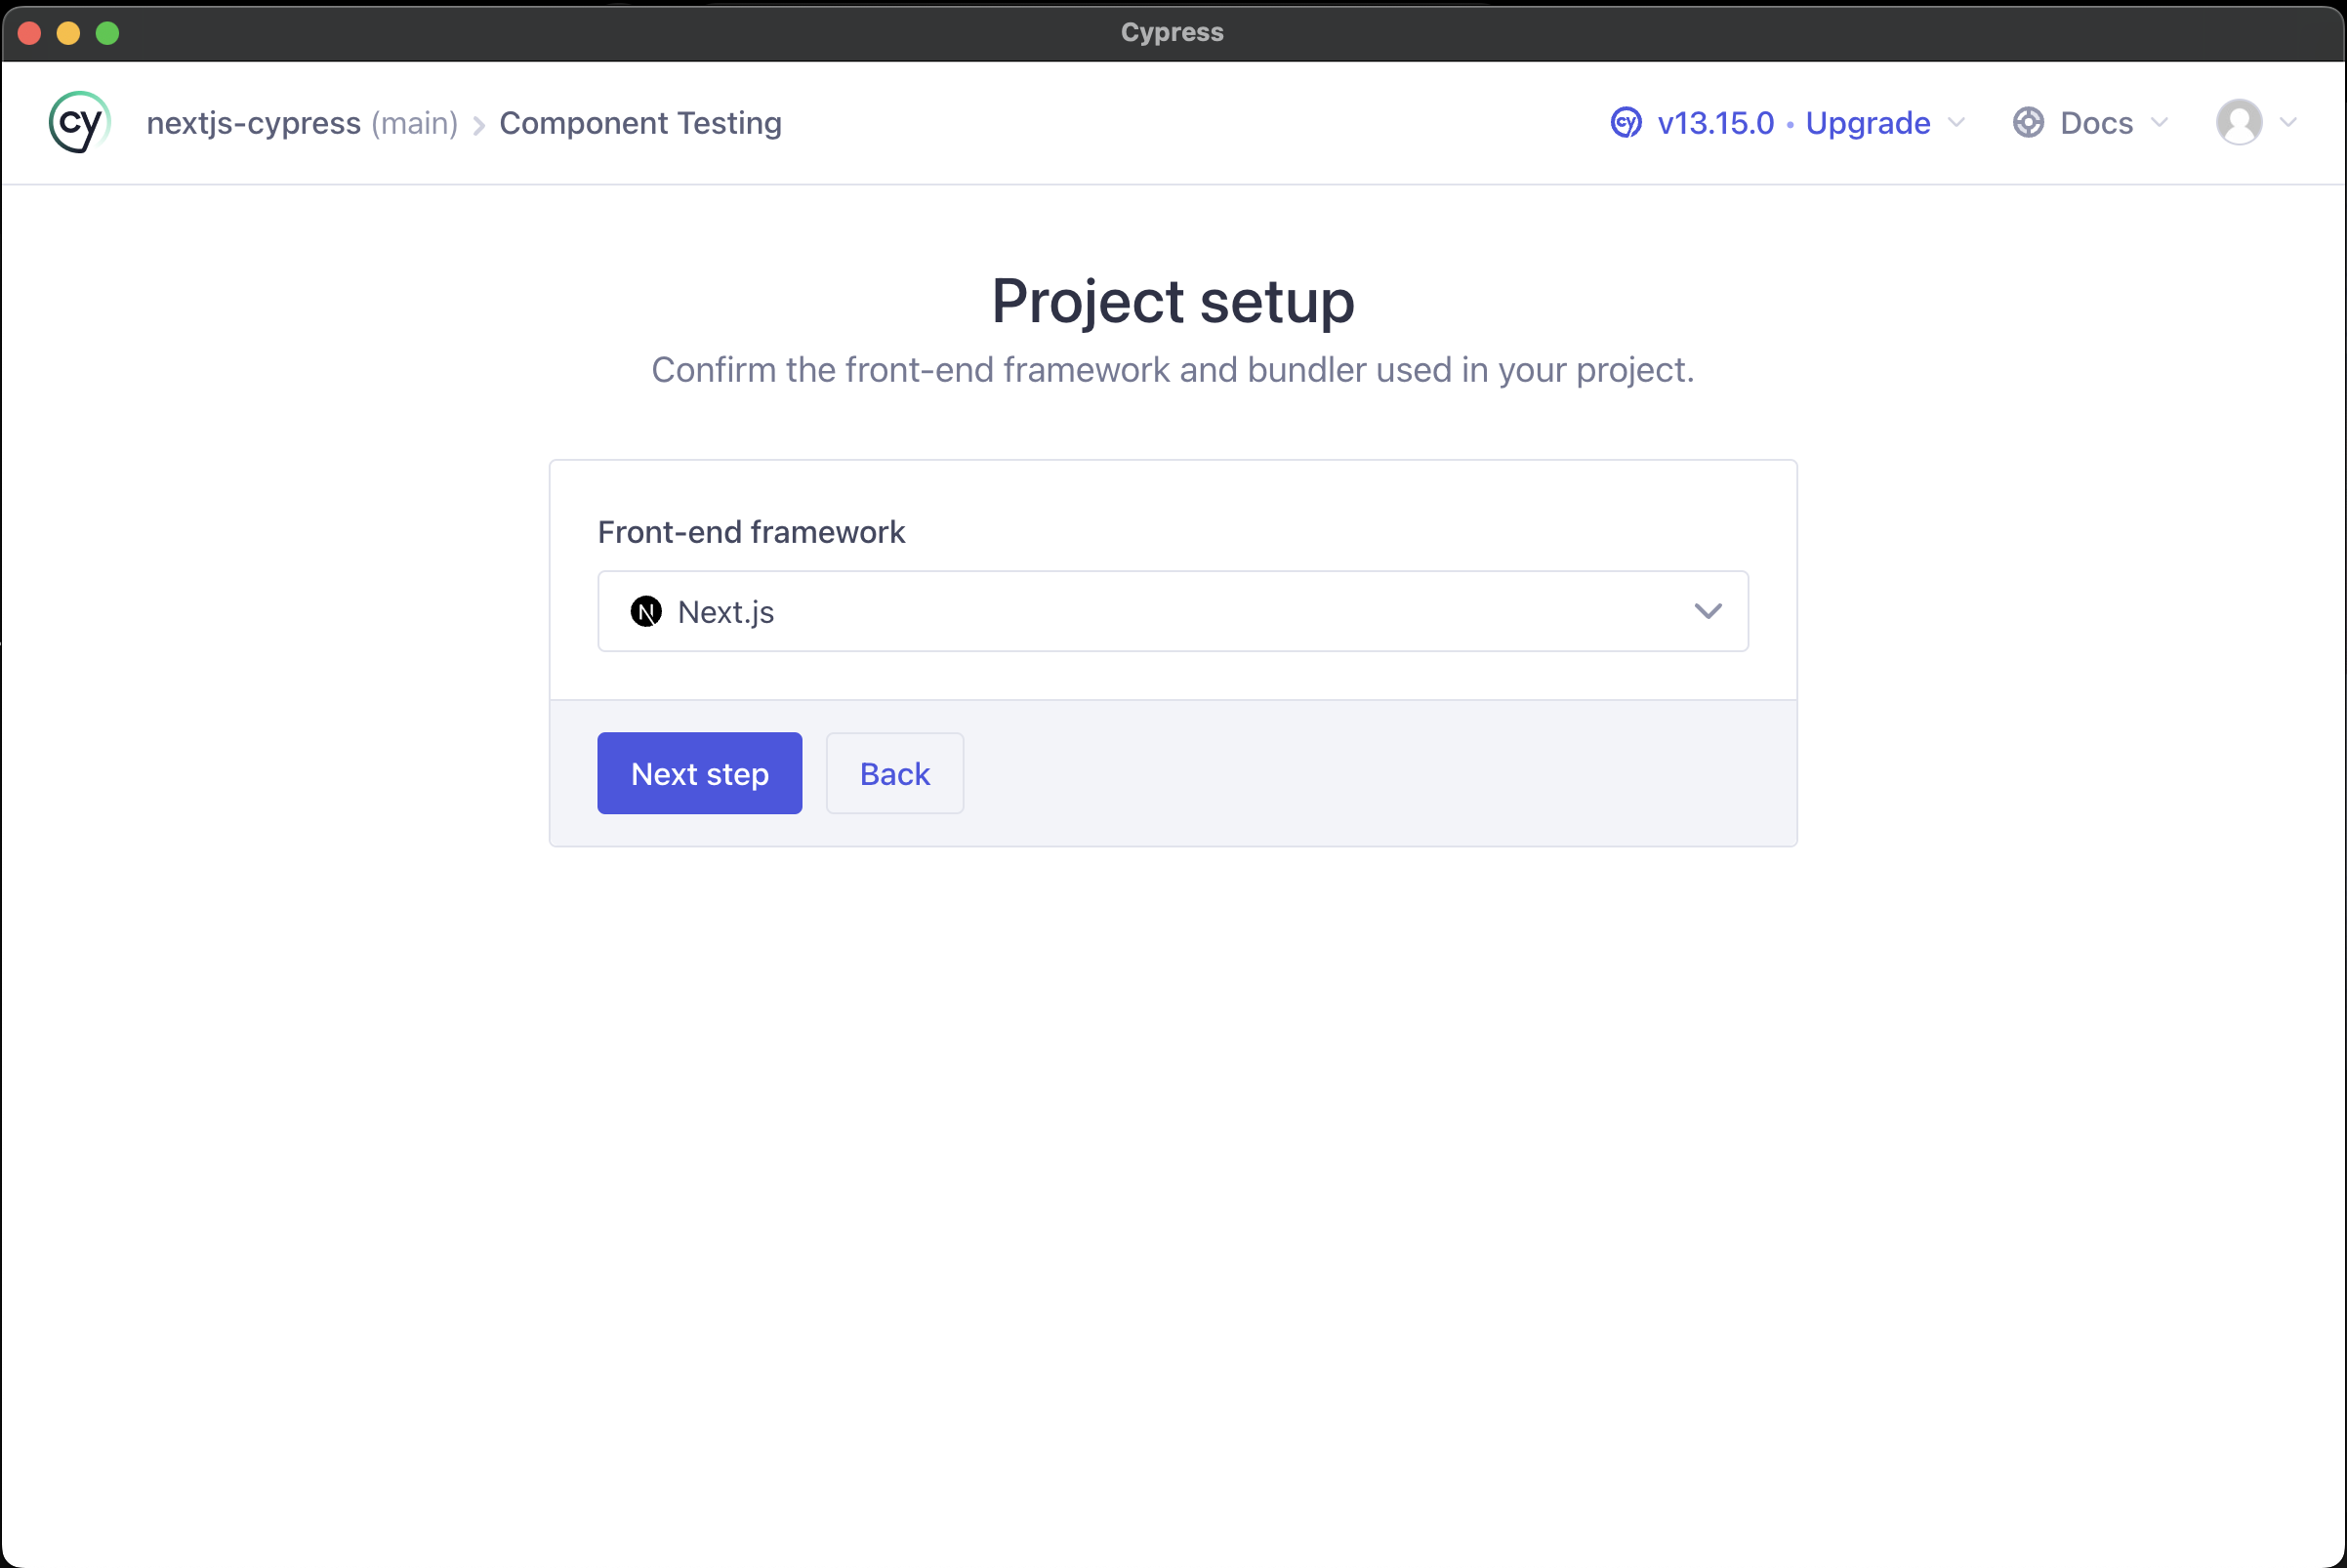
Once you have chosen Component Testing select Next.js as the front-end framework and move through the setup.
Finally, choose how you wish to view and execute your tests:
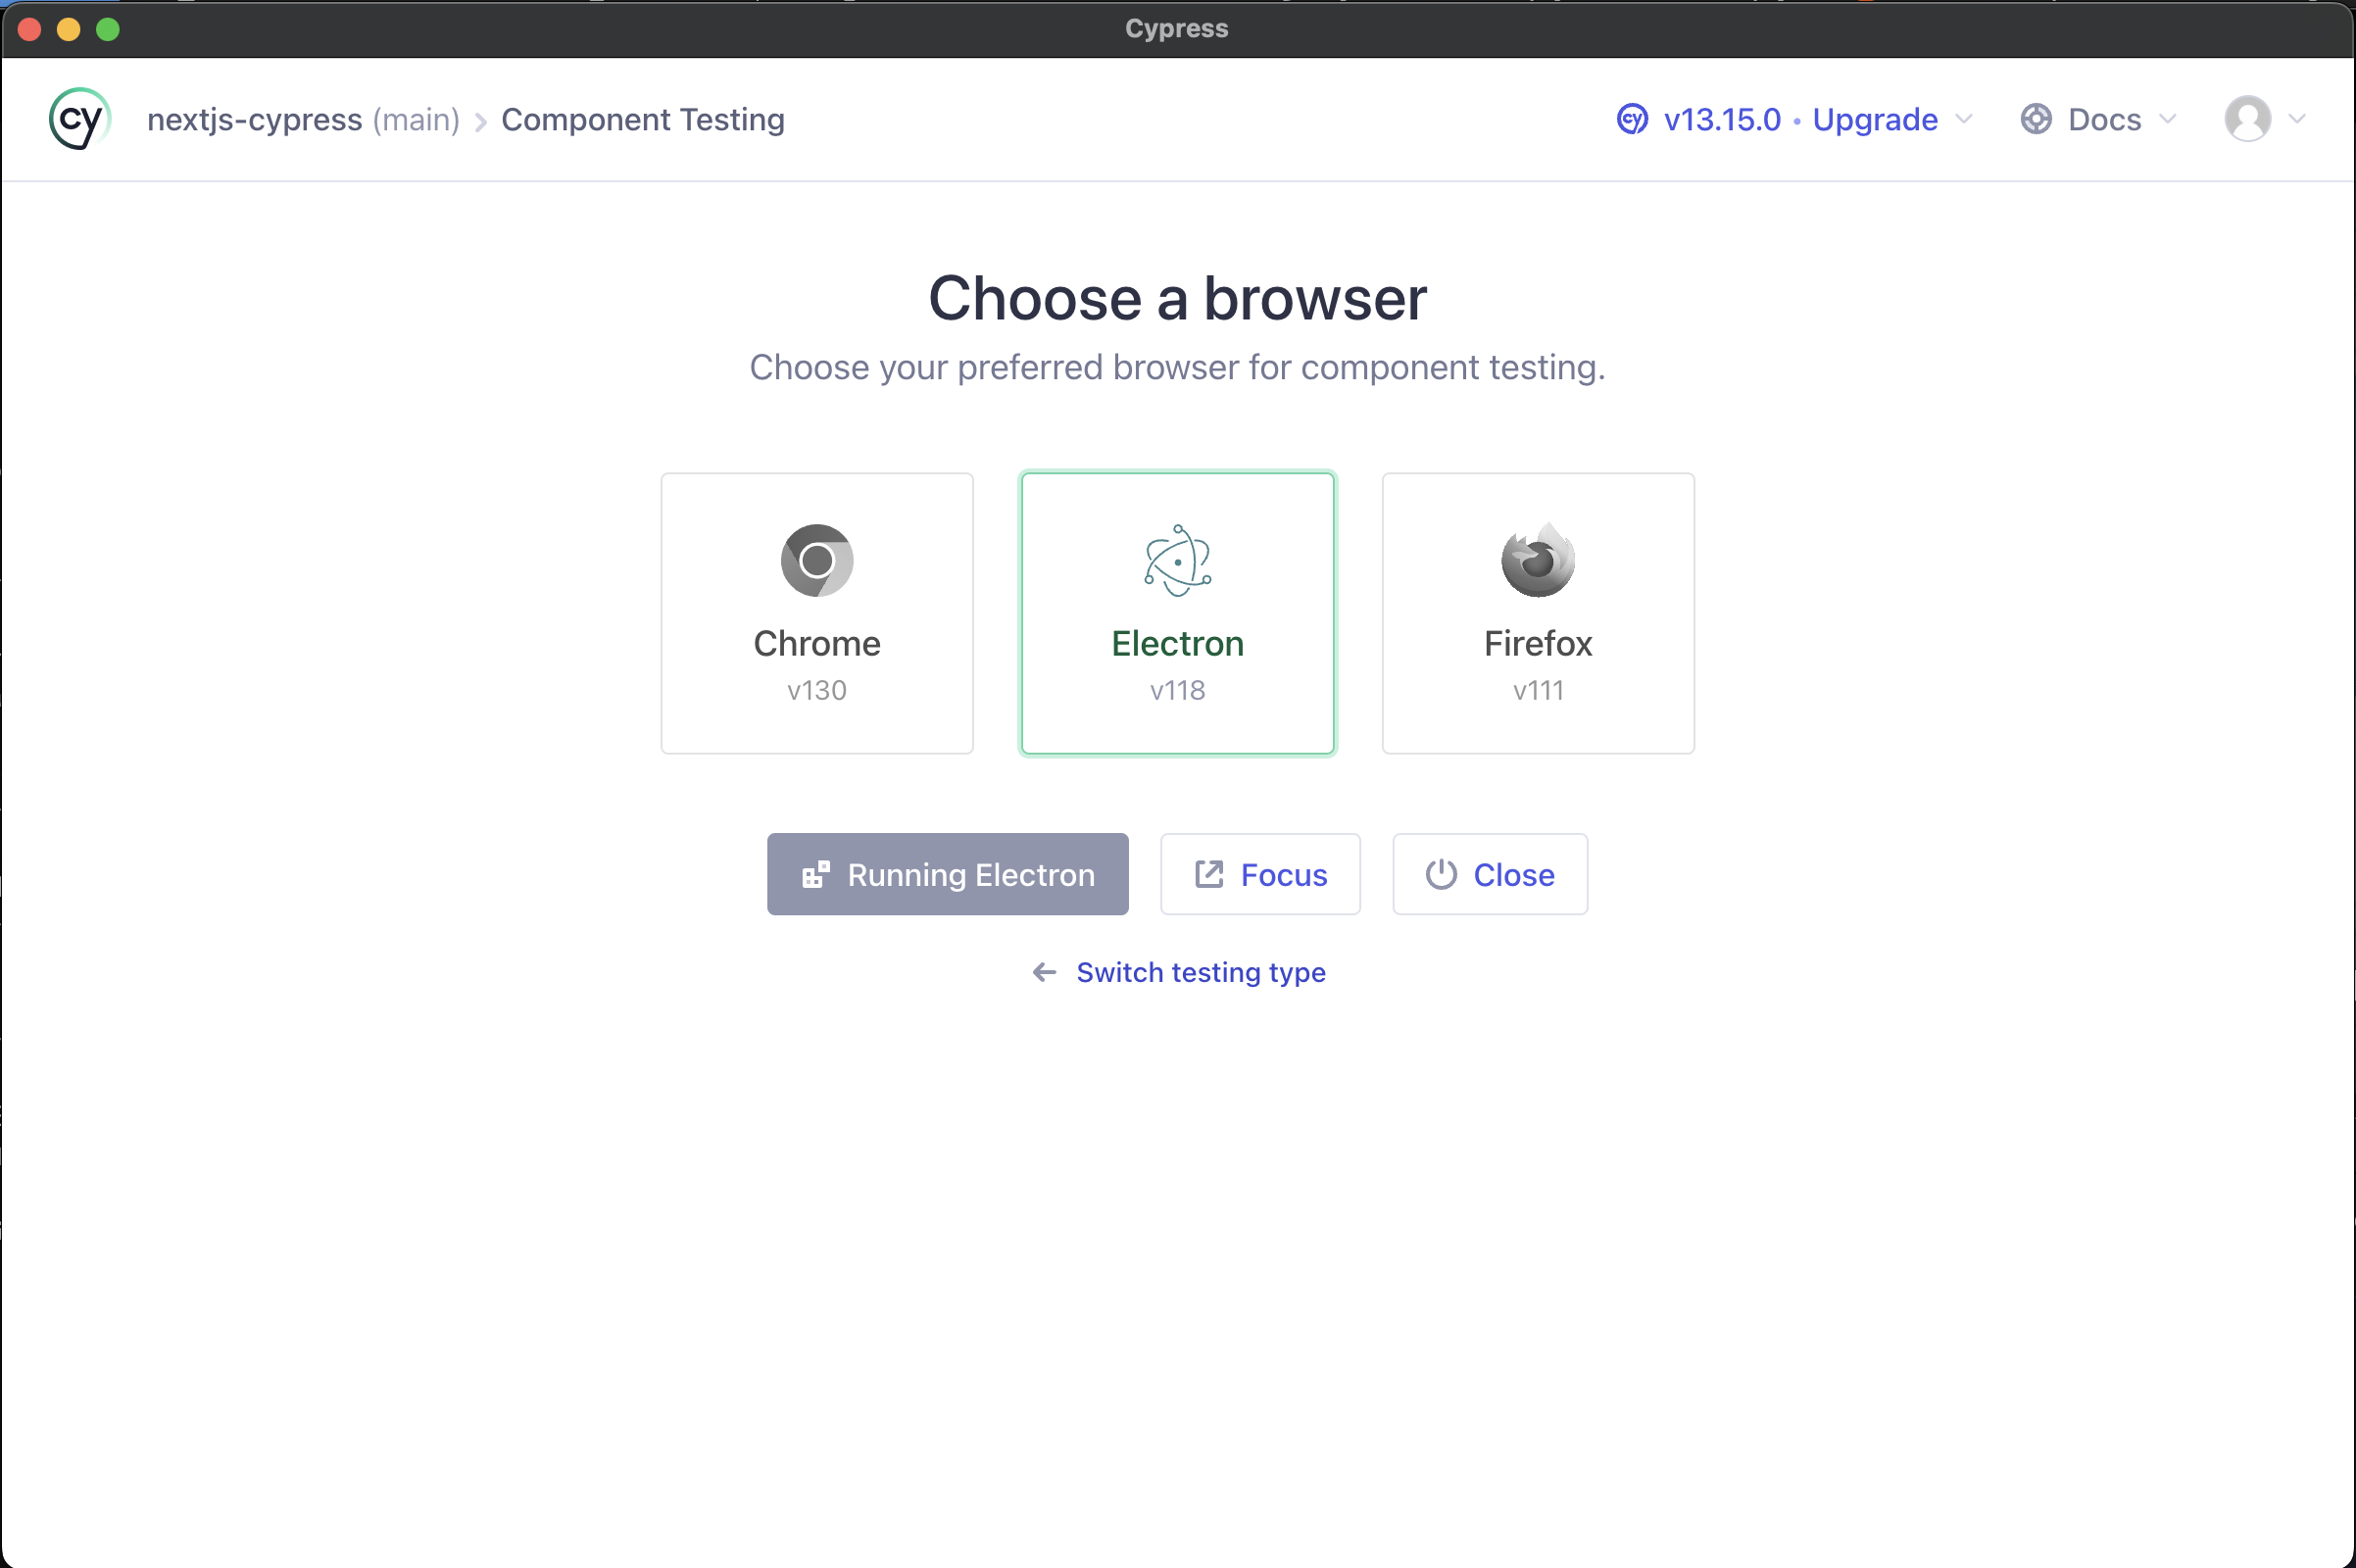
I typically choose the very rapid Electron browser which comes built-in to Chromium (used by Cypress as the environment for executing our tests) if I want the shiny interface.
Alternatively, I use the command line if I want to use my VS Code terminal, adding the cypress:run-component command to the packages.json file:
{
  "scripts": {
    "dev": "next dev --turbopack",
    "build": "next build",
    "start": "next start",
    "lint": "next lint",
    "cypress:open": "cypress open",
    "cypress:run-component": "cypress run --component"
  }
}
And executing:
npm run cypress:run-componentYou should now be up and running, with Cypress in it’s starting state:
Create a basic test specification
Cypress has a very convenient Create from component option for generating our first test specification - let’s do that:
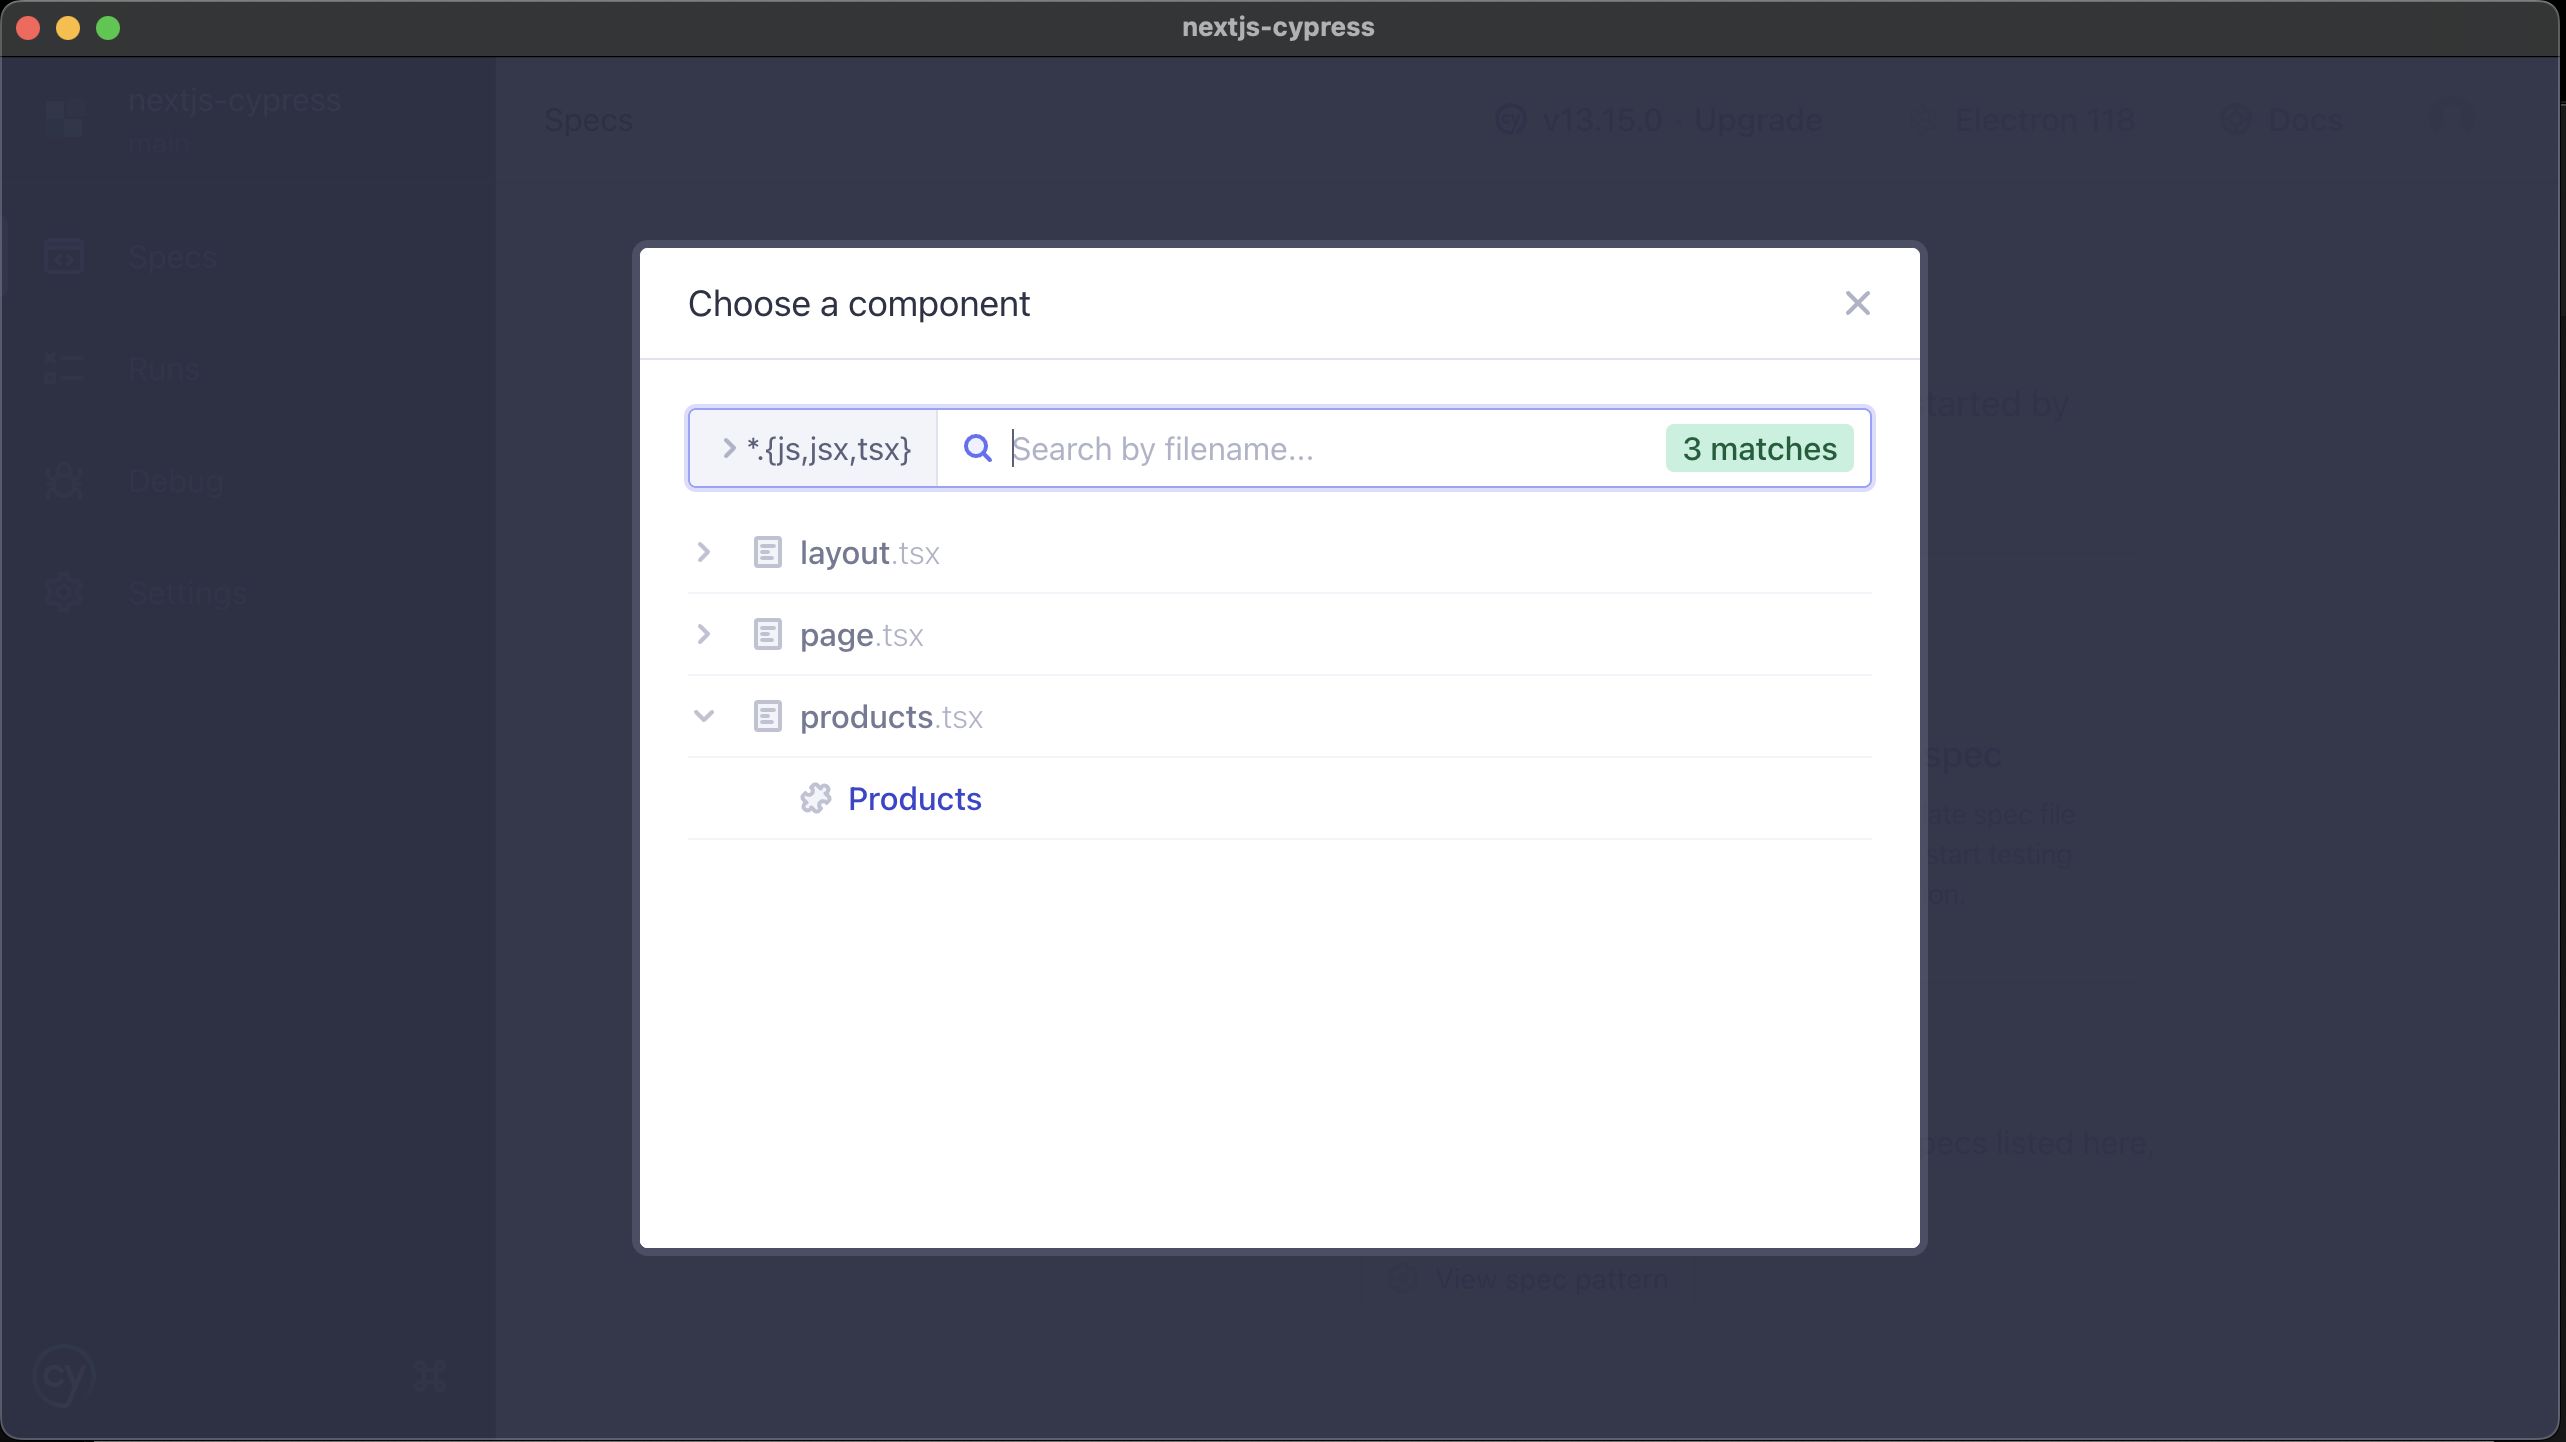
And select our Products component. Click through and you should have Cypress generating the test specification for you. Cypress has added the productsProducts.tsx file containing the scaffolding for our first test.
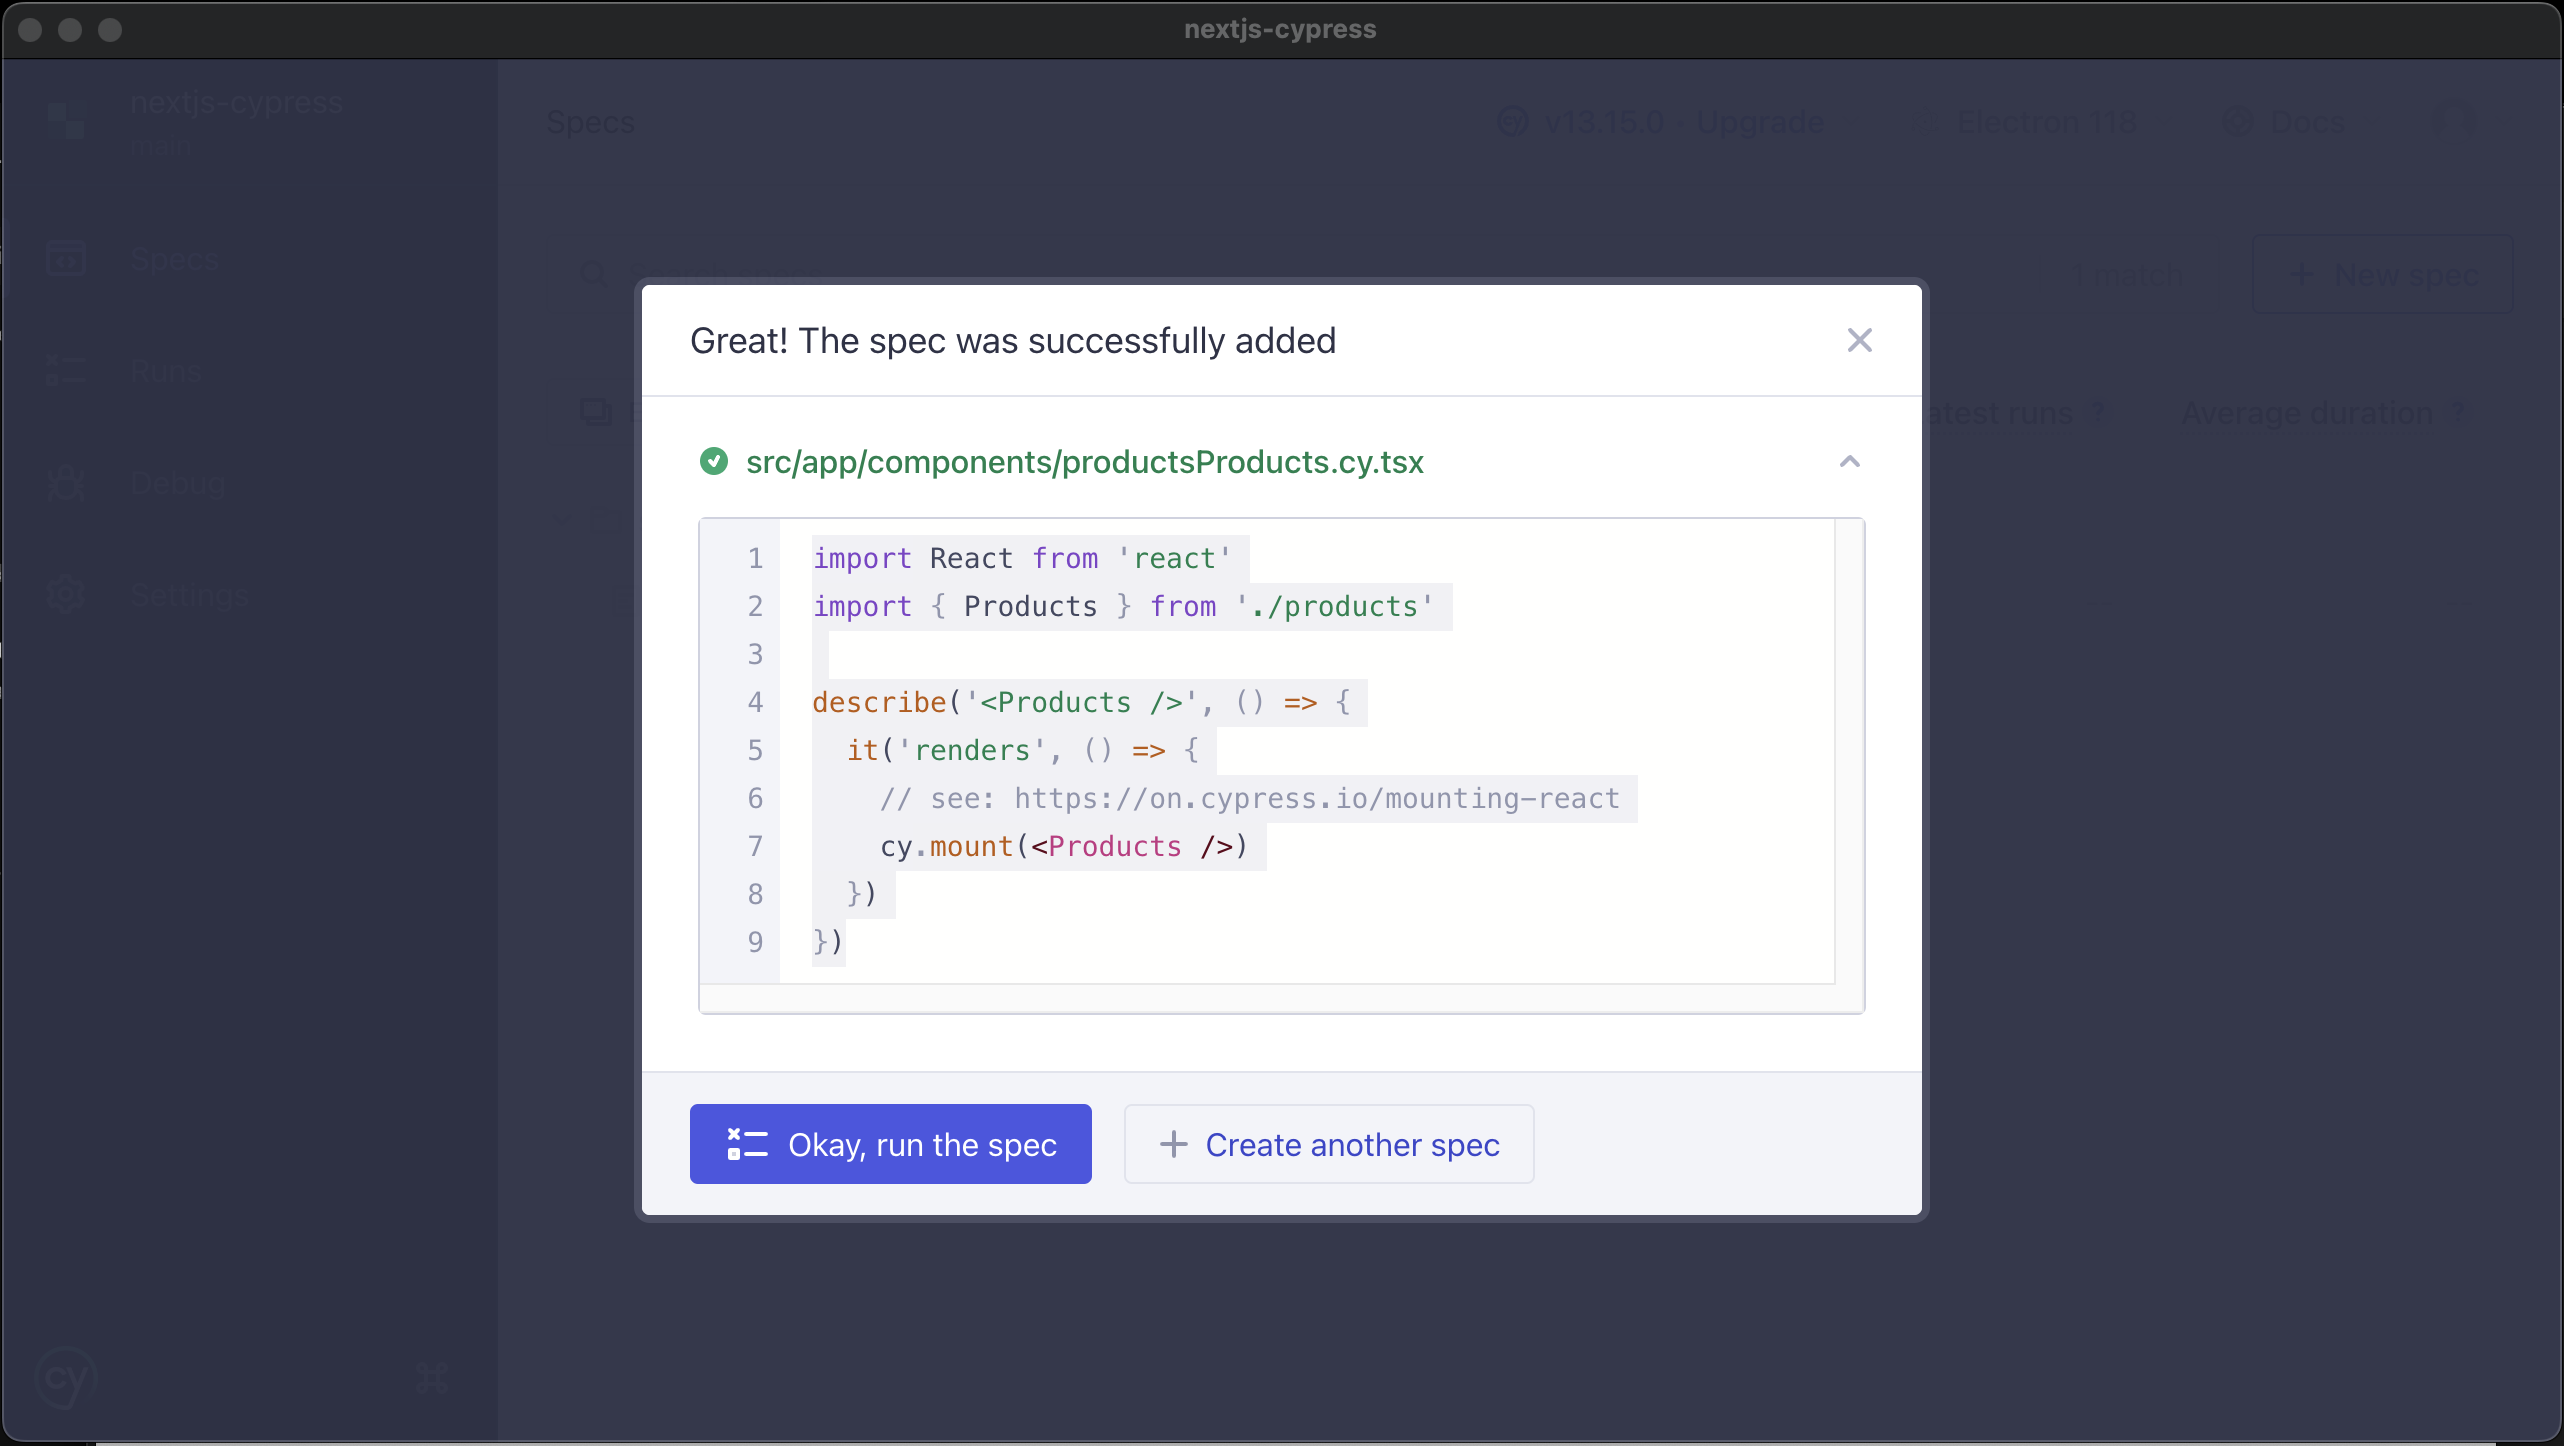
I’ll rename it to products.cy.txt because I am precious/weird like that. We should now have the following structure:
src
└───app
    └─── components
        └─── products.cy.tsx
        └─── products.tsx
    └─── hooks
        └───useProducts.tsx
    └─── types
        └─── product.ts
    └─── utils
        └─── api.ts
    └─── page.tsx
With the products.cy.tsx file looking like:
//src/app/components/products.cy.tsx
import React from 'react'
import { Products } from './products'
describe('<Products />', () => {
it('renders', () => {
// see: https://on.cypress.io/mounting-react
cy.mount(<Products />)
})
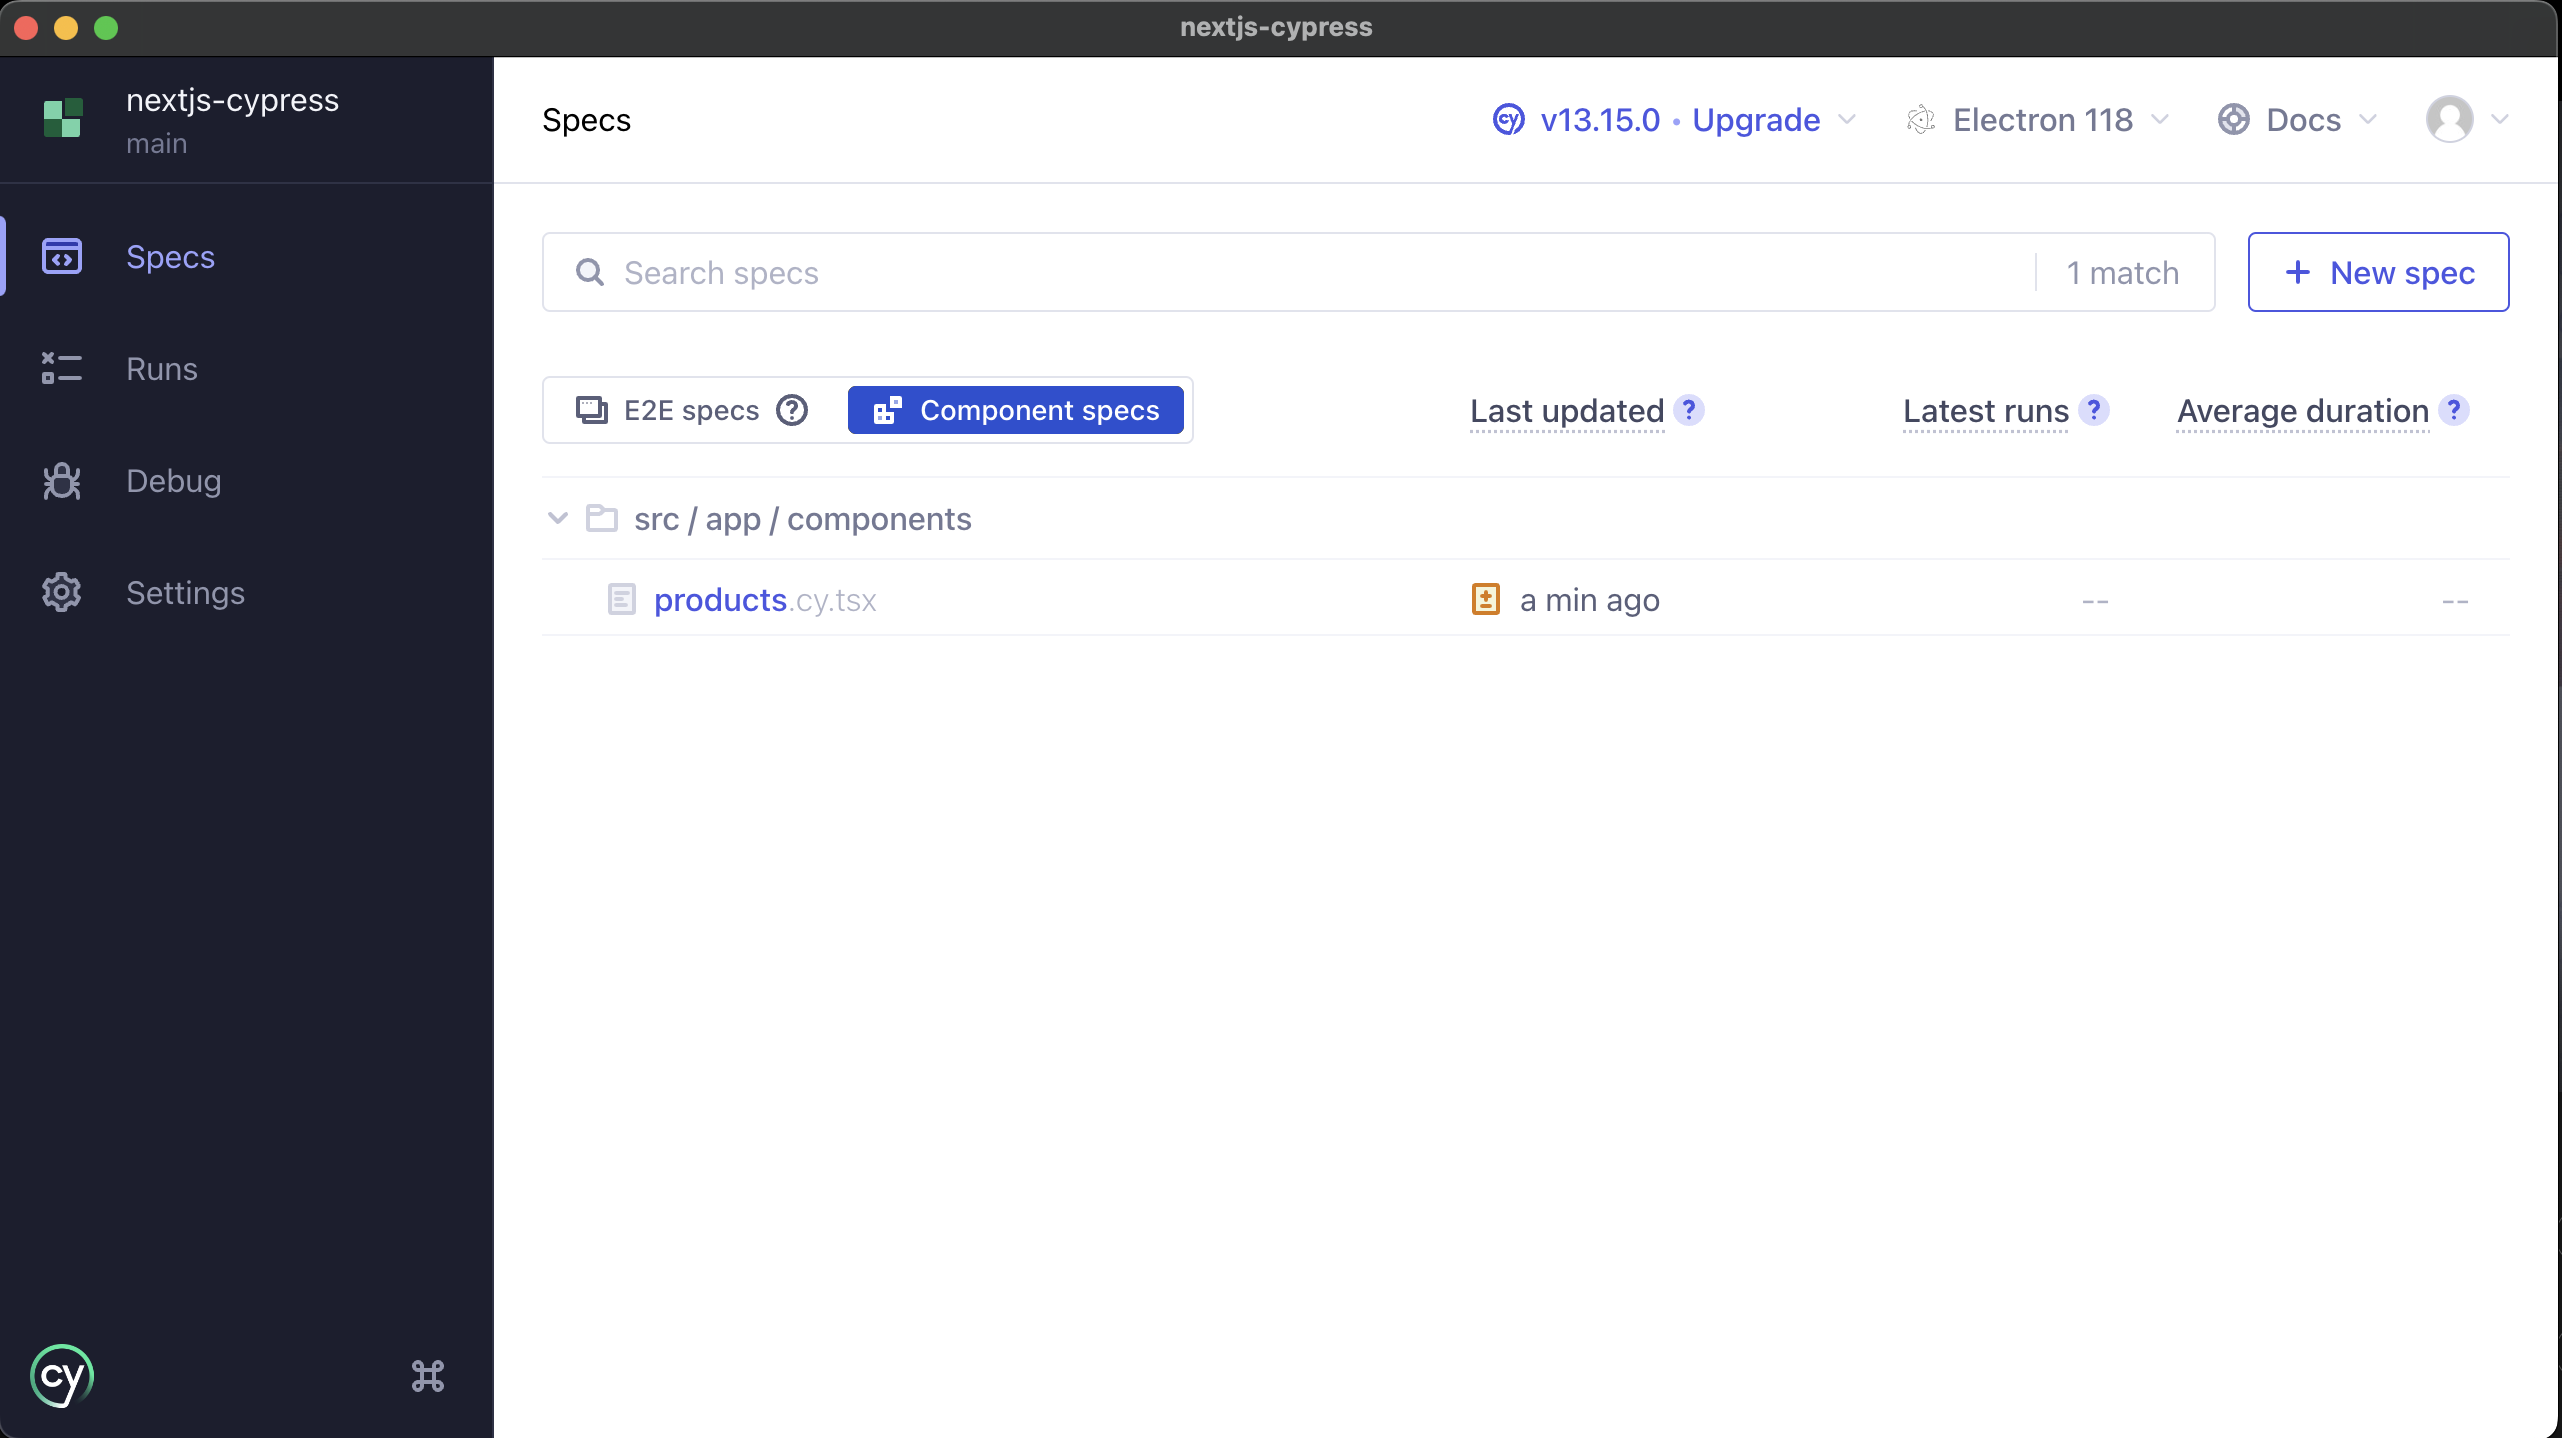
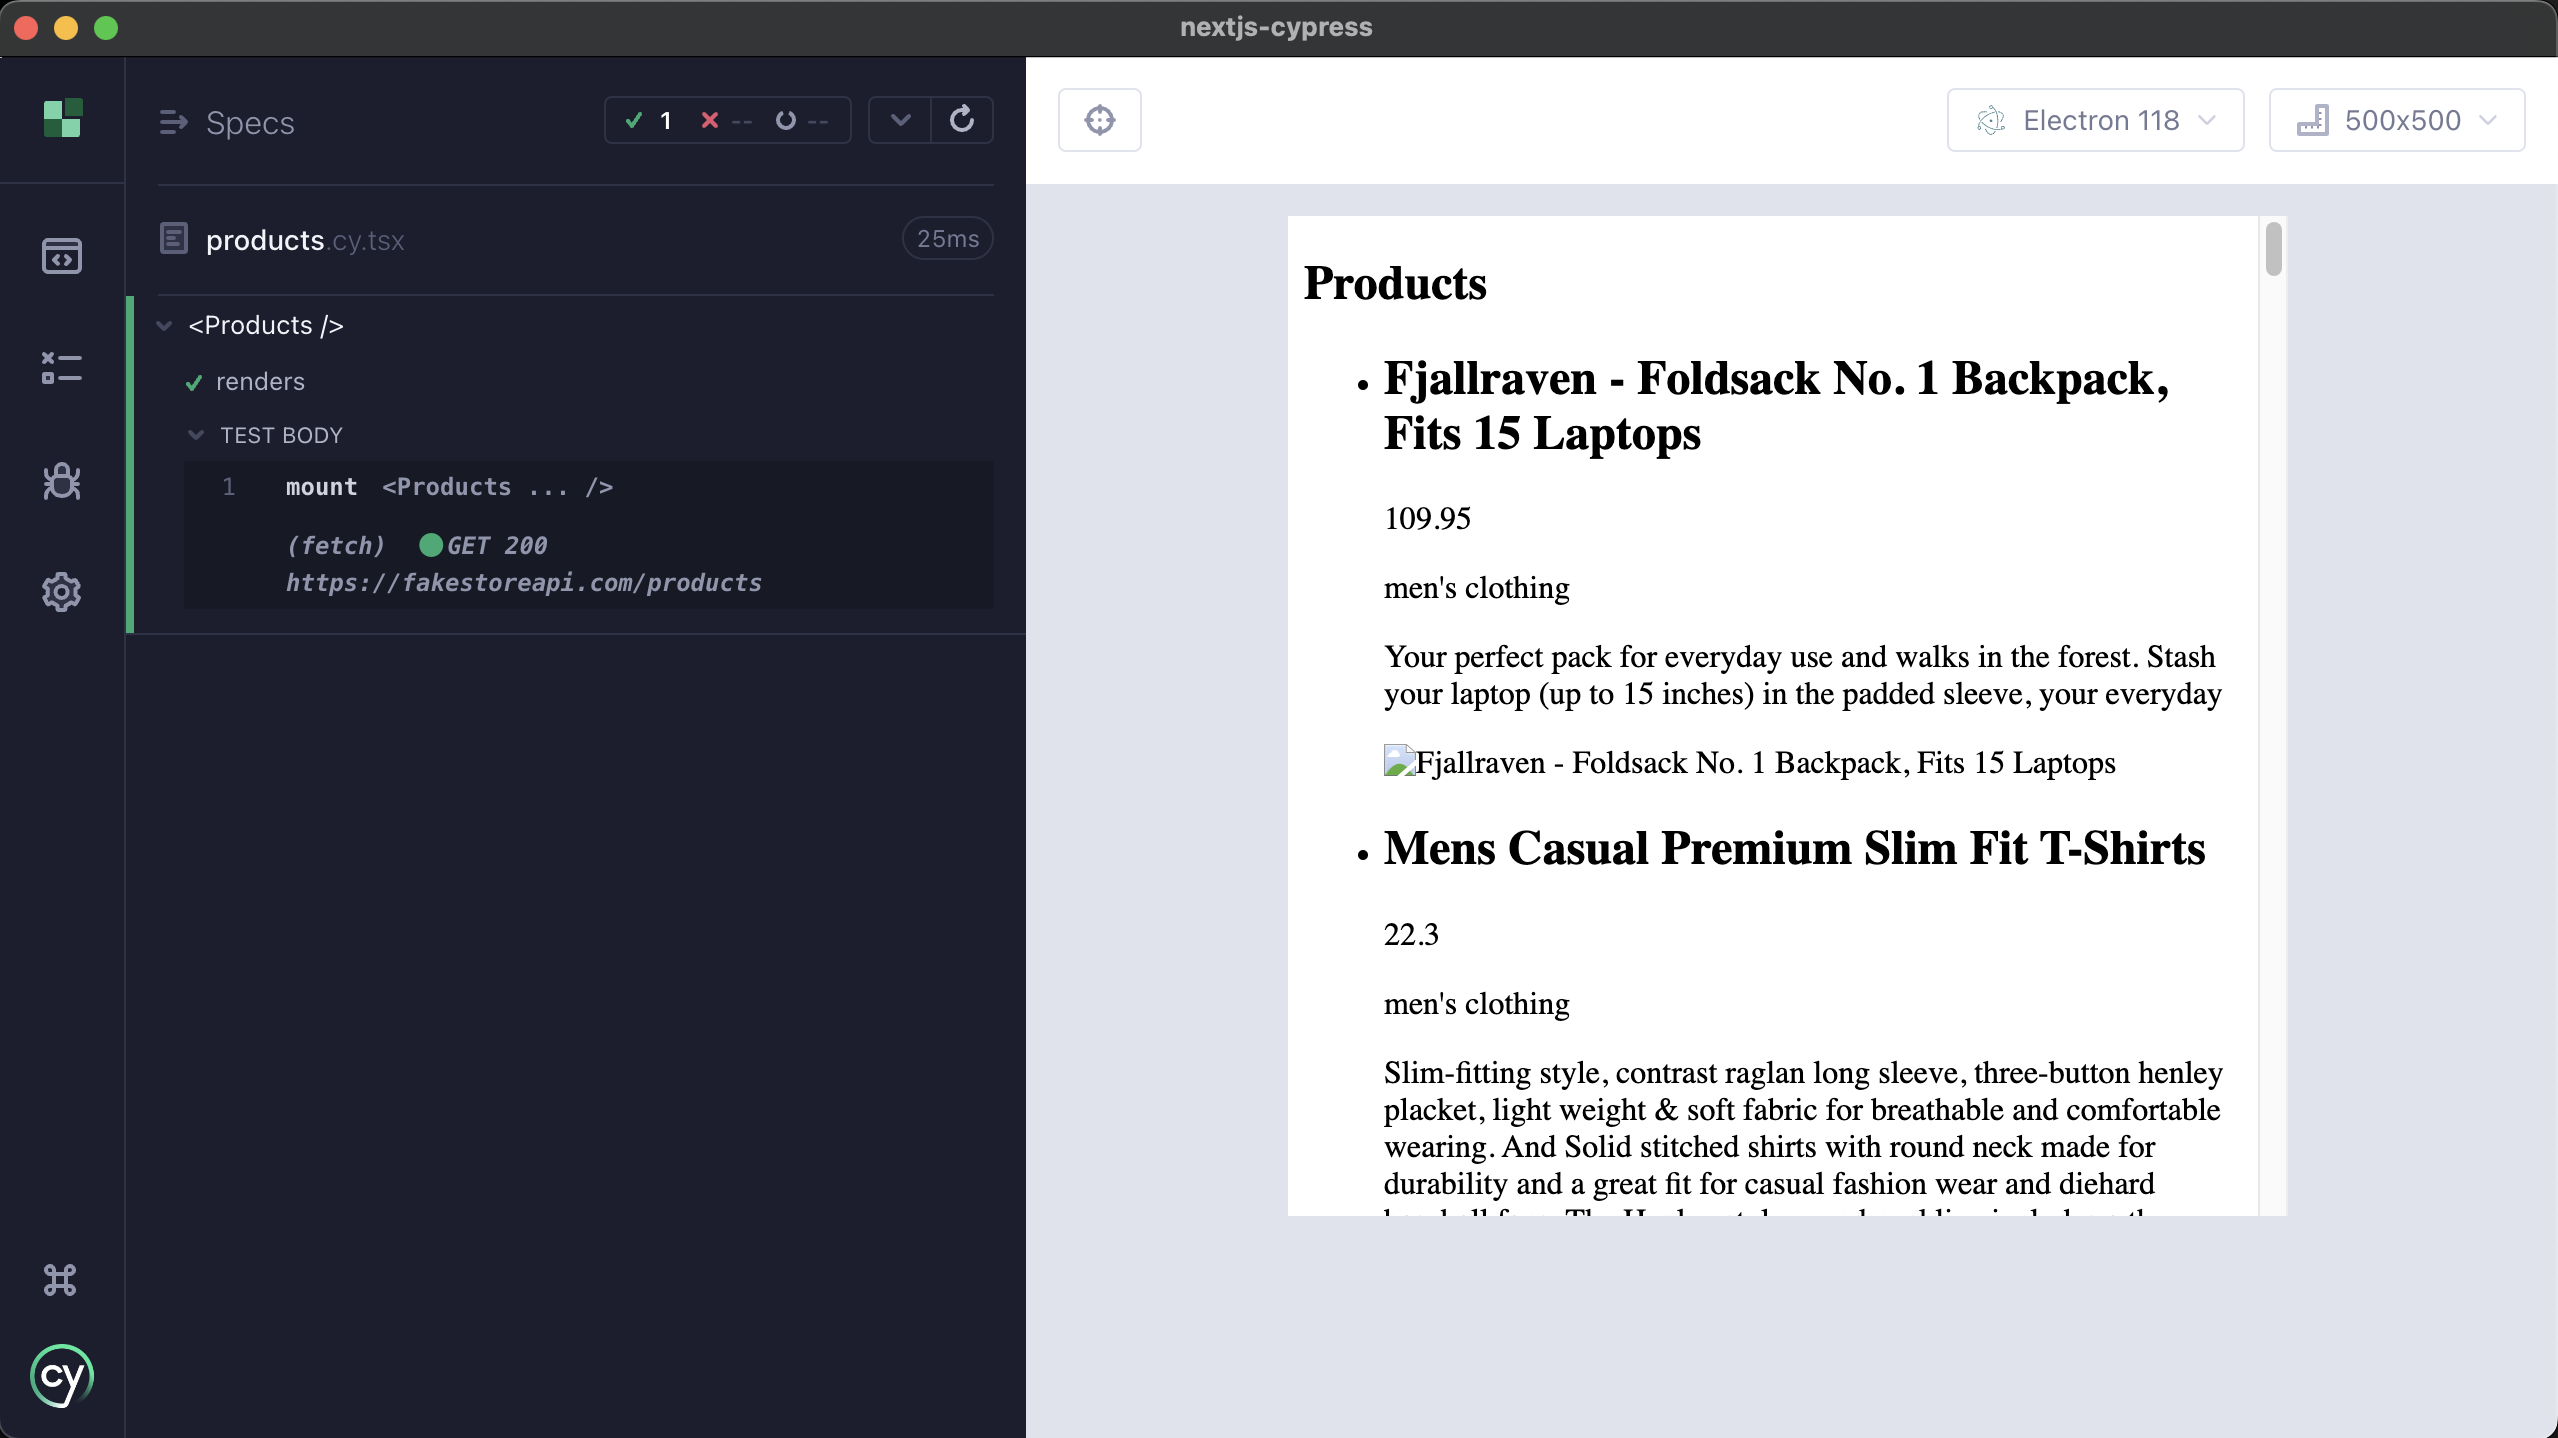
})Now, when you look at the Cypress window, you should see the products specification in the Specs section:
Selecting the products specification, Cypress will run the tests and display the results:
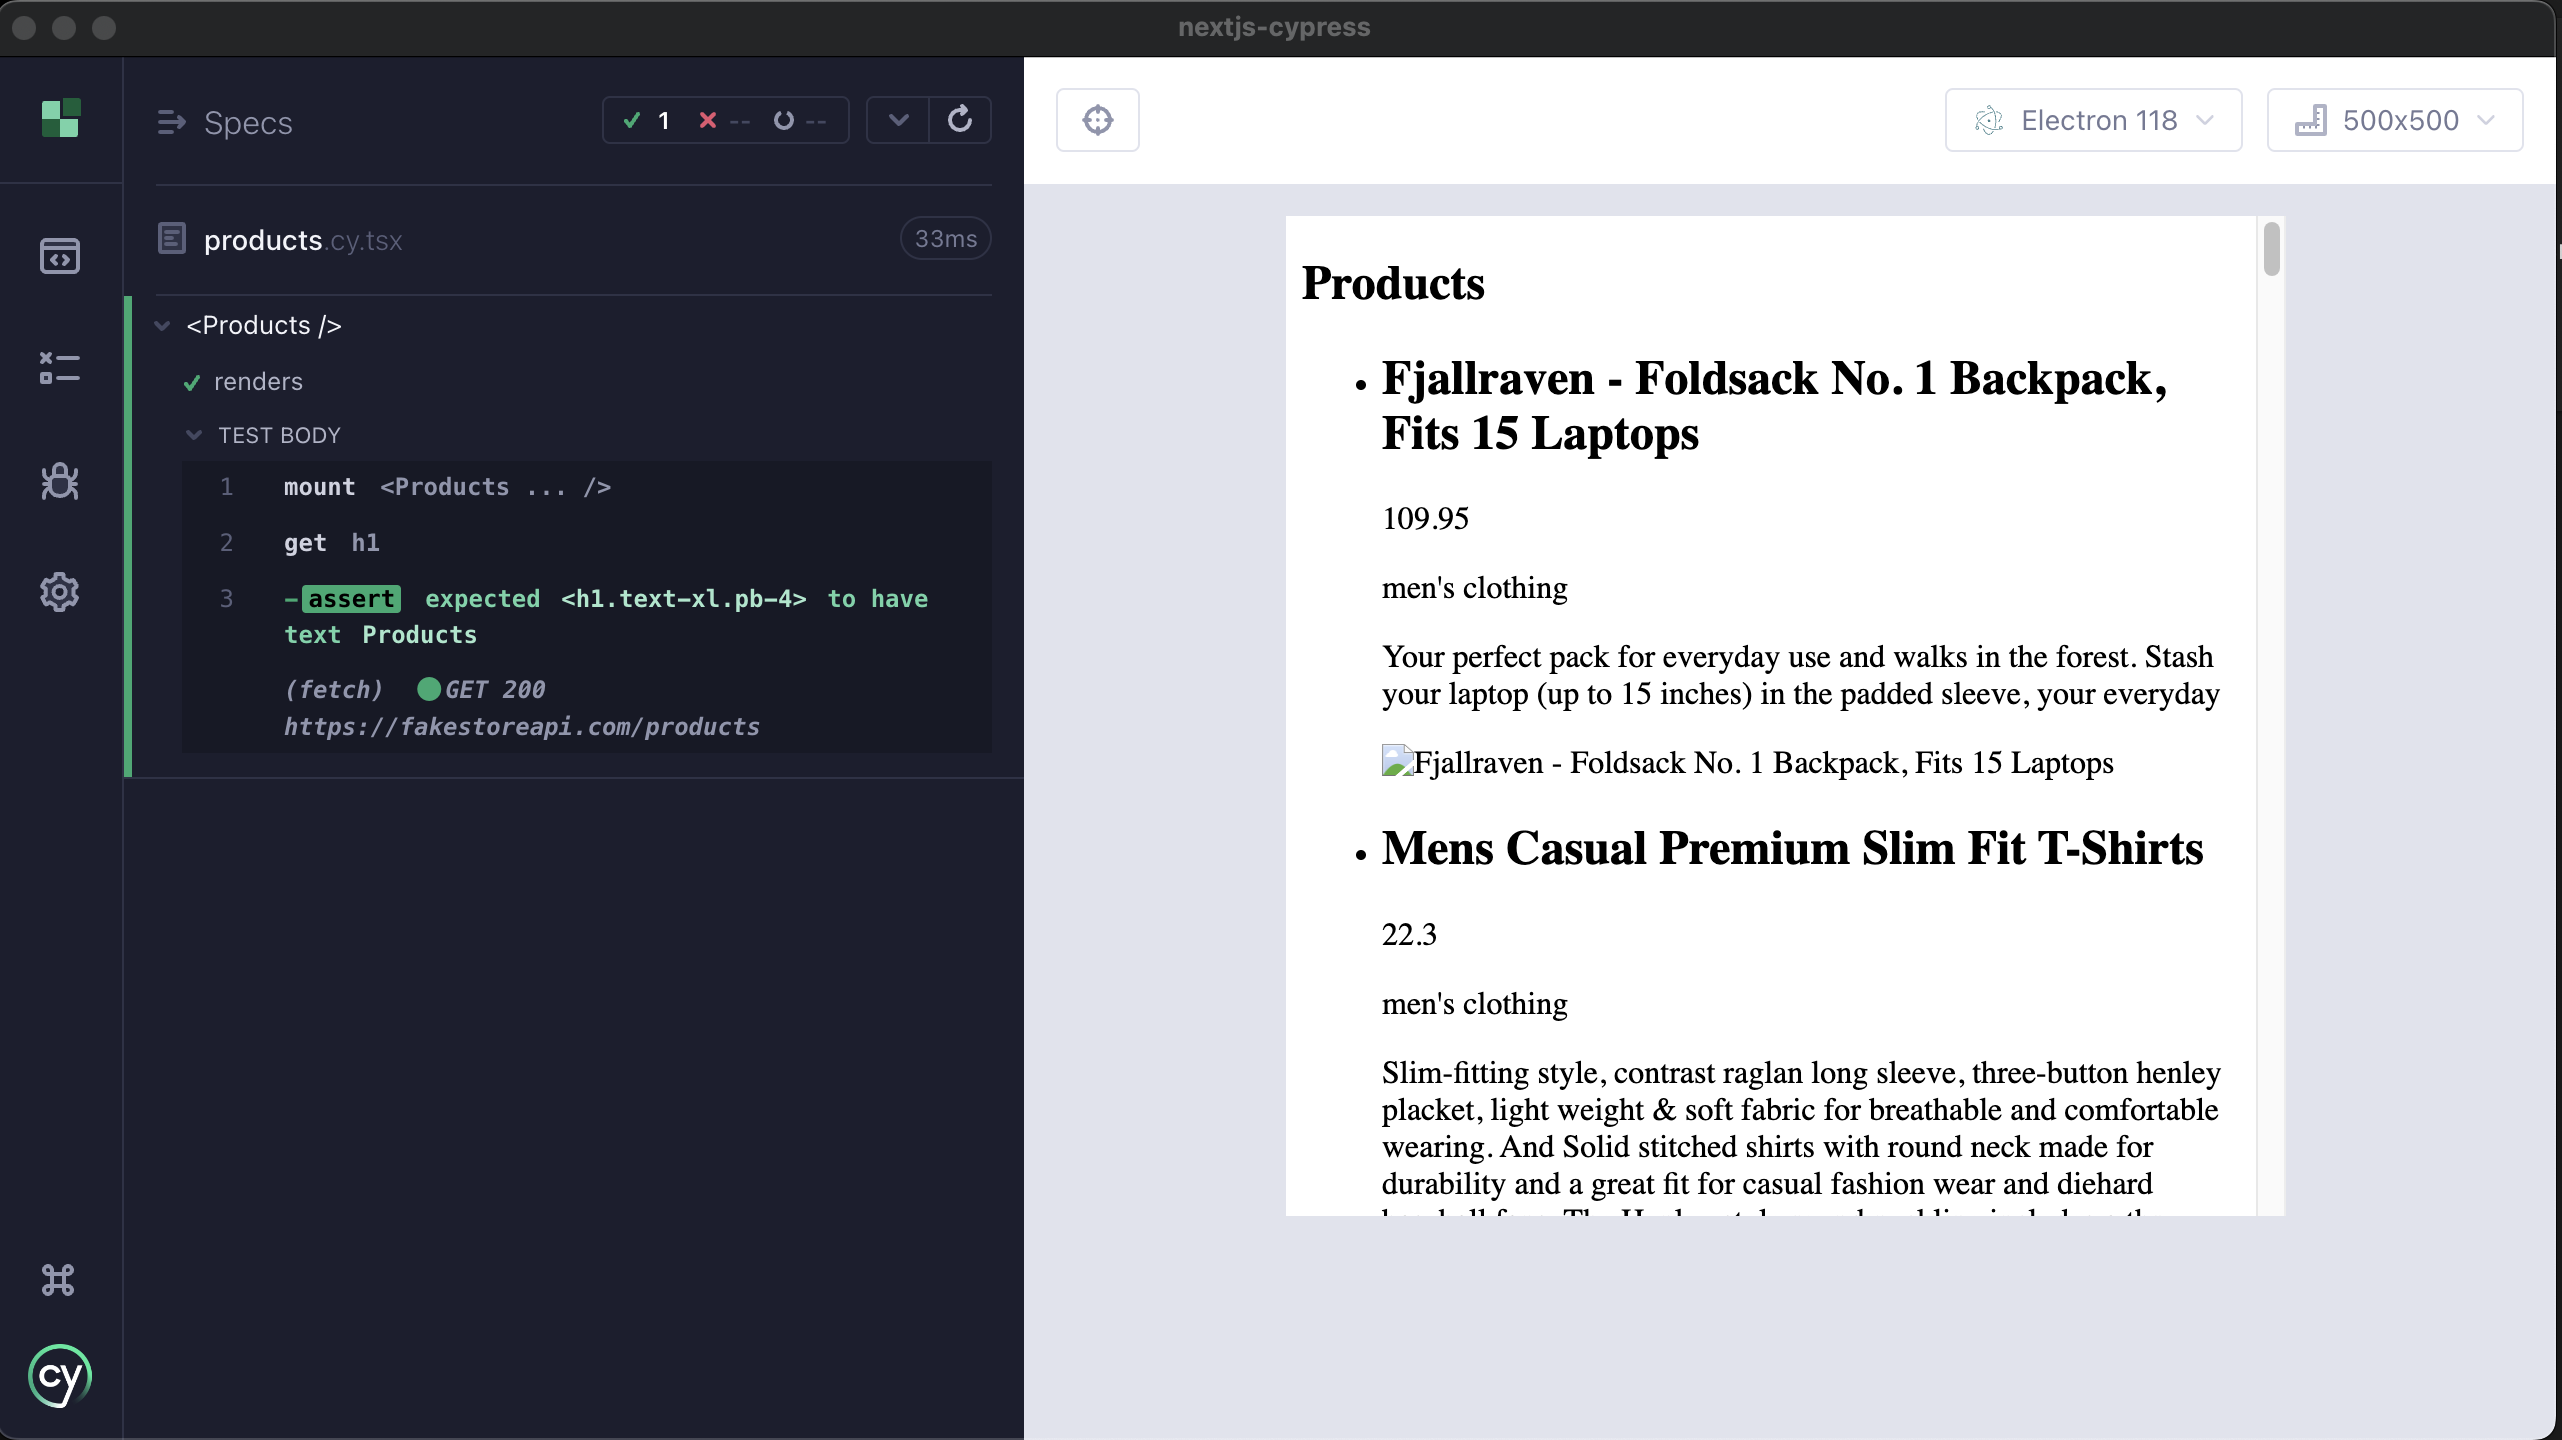
If we change the test file, to assert that the header text is as expected:
//src/app/components/products.cy.tsx

import React from 'react'
import { Products } from './products'

describe('<Products />', () => {
  it('renders', () => {
    // see: https://on.cypress.io/mounting-react
    cy.mount(<Products />)
    cy.get('h1').should('have.text', 'Products')
  })
})
Save that change and we can see the specification automatically re-run:
Add further test cases to scenario
Now we have a working specification I want to add some more cases:
//src/app/components/products.cy.tsx

import React from 'react'
import { Products } from './products'

describe('Tests for the <Products /> component', () => {
  it('renders component', () => {
    cy.mount(<Products />)
  })
  // test that the component shows the correct header
   it('renders header', () => {
    cy.mount(<Products />)
    cy.get('h1').should('have.text', 'Products')
  })
  // test that the component shows a loading message
  it('shows loading message', () => {
    cy.mount(<Products />)
    cy.contains('Loading...').should('be.visible')
  })
  // test that the component renders the products
  it('renders at least one item', () => {
    cy.mount(<Products />)
    cy.get('li').should('have.length.gt', 0)
  })
  // test that the component renders the product title
  it('renders a product title', () => {
    cy.mount(<Products />)
    cy.get('li').first().get('h2').should('exist').invoke('text').should('not.be.empty')
  })
  // test that the component renders some product details
  it('renders product details', () => {
    cy.mount(<Products />)
    cy.get('li')
    .first()
    .find('p')
    .should('have.length', 3)
    .each(($p) => {
      cy.wrap($p)
        .invoke('text')
        .should('not.be.empty');
    });
  })
})
The cases above are simple and focus on ensuring that products are rendered. Sure, you could combine some of these tests, but I was taught that a good test covered as little of the target code as possible. This is important.
Writing concise, targetted tests:
- helps the reader understand what you are testing for
- is vital when performing test-driven development
- lowers the cost of maintenance, changes to the target code should impact as few of the tests as possible
- speeds the test runs up
Summary
So far, so what, right? We’ve set up our test tooling and a sample application but read on for details on how to isolate your tests better using network intercepts and how to test server-side components.
Note, you can find the full code here: https://github.com/speaktosteve/nextjs-cypress-part1-and-part2
Next article - Component testing in Next.js using Cypress - Part 2 - Intercepting network requests